


Today we are sharing an update on the Jasika Blazer progress from Valerie and Mary! They are at different points in their progress now: Valerie is examining the fit of her second muslin and Mary has cut out all of her pieces and begun the prep work for sewing. At Stitch we believe that everyone’s sewing journey is unique, and a big project like this is no exception. Keep reading for their thoughts and tips for this pattern!
Valerie:
The Jasika journey continues! After my first muslin, the changes I made to the pattern were as such:
- lowering both darts 1”
- swayback adjustment
- grading up one size in the hips
- adding 2” to the sleeve in the bicep
- shortening the hem and the sleeves
After making all those changes to my pattern, I made a second quick muslin (no collar, pockets, or linings) to make sure these changes worked out the way I wanted.
First up, the darts came out perfect. Amazing how only 1” can make such a difference!
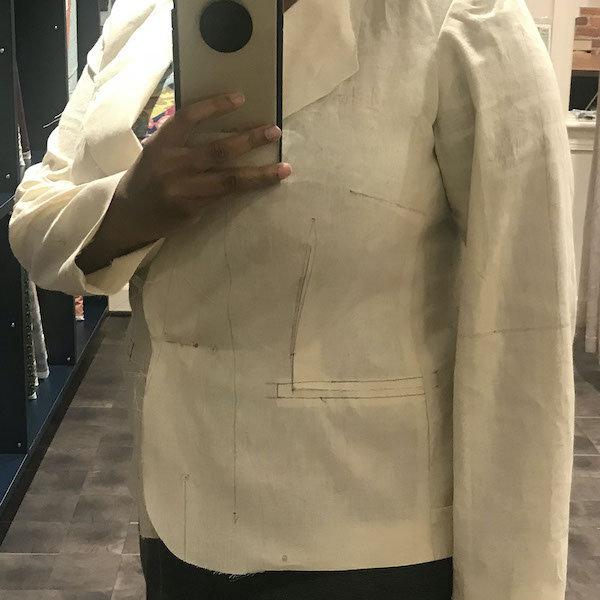
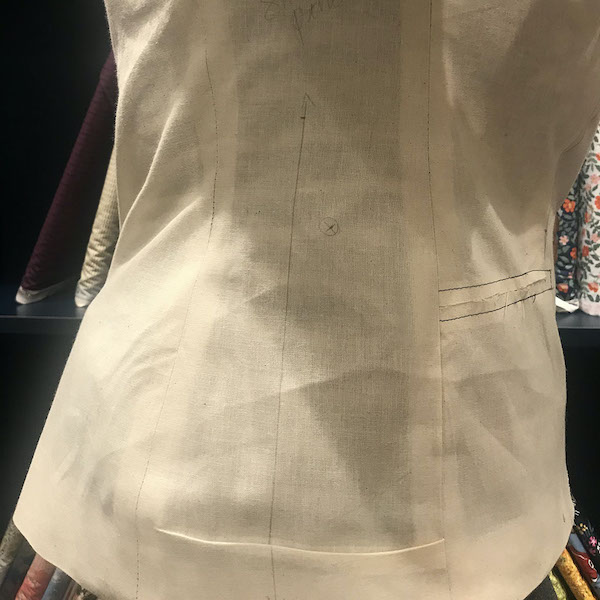
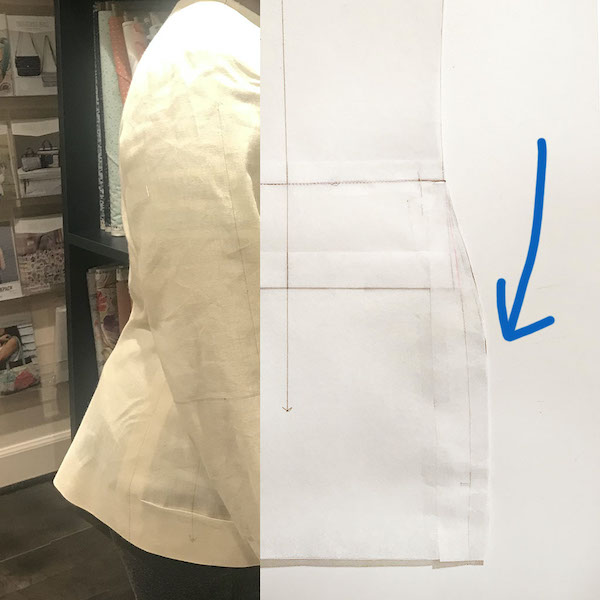
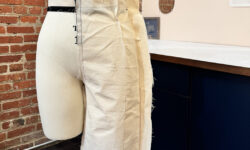
Next, the swayback adjustment looked great in the back, and smoothed out the side panel perfectly. But! A little tuck appeared in my side panel that at first confused me.
I noticed the side panel matched the back perfectly, but was about 1” too long to match the front (hence the tuck)
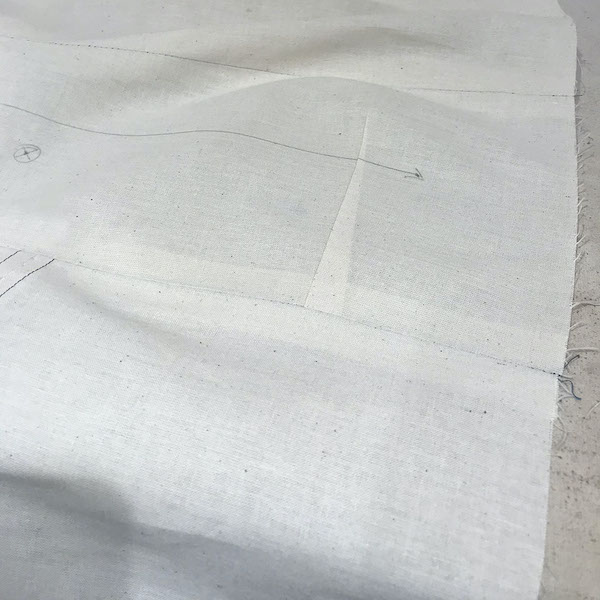
The problem was that I shortened the front more than the back, since the sway back adjustment was already shortening the back. That meant that when I went to shorten the side panel, instead of taking out the same amount all the way across, it should have been a wedge shape, with the larger side towards the front.
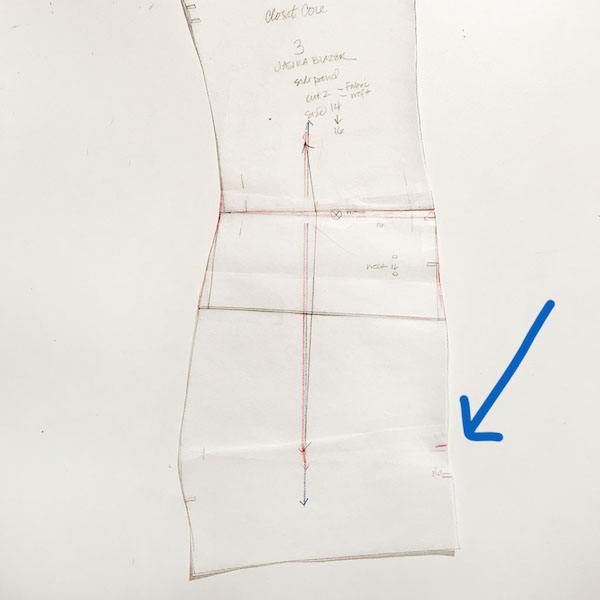
Instead of re-doing that step, I just took out an additional little wedge shape, starting with 1” on the front side, and diminishing to zero on the back.
The pattern looks really weird and twisted now, but with the tuck in place it hung very nicely and looked great on the muslin, so I knew it was right!
The grading out at the hips made the front come together easily, but it didn’t do quite enough to make the back fit properly. The vent in the back was still kicking out a bit, which I don’t want.
To fix it, I added 1/2” to the back panel, from the fullest part of my hip to the hem. That should give me enough extra room only where I need it (in the back, not all the way around) to make the vent lay the way it should.
Finally, the length of the jacket itself looked great, but the sleeves were still a tiny bit too long. The process of adding more ease in the bicep shortened the sleeve a bit, so I didn’t think I would need to take off the 5/8” I originally planned. Good thing I did a second muslin, or I would have never known I still needed to take off a little more! I’ll remove only 3/8” from the sleeve and that should do it.
The next step for me is prep work! That includes pressing and shrinking the wool, washing the bemberg lining, very carefully cutting out my fabric and interfacing, and applying all my fusible interfacing.
Mary:
Holiday sewing has bumped my Jasika Blazer plans back a little, but finally it’s time for some “me” sewing.
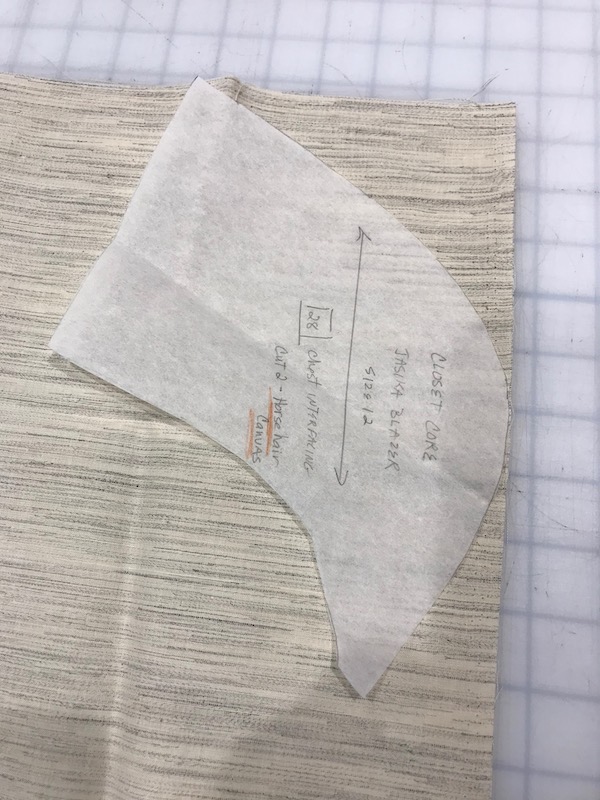
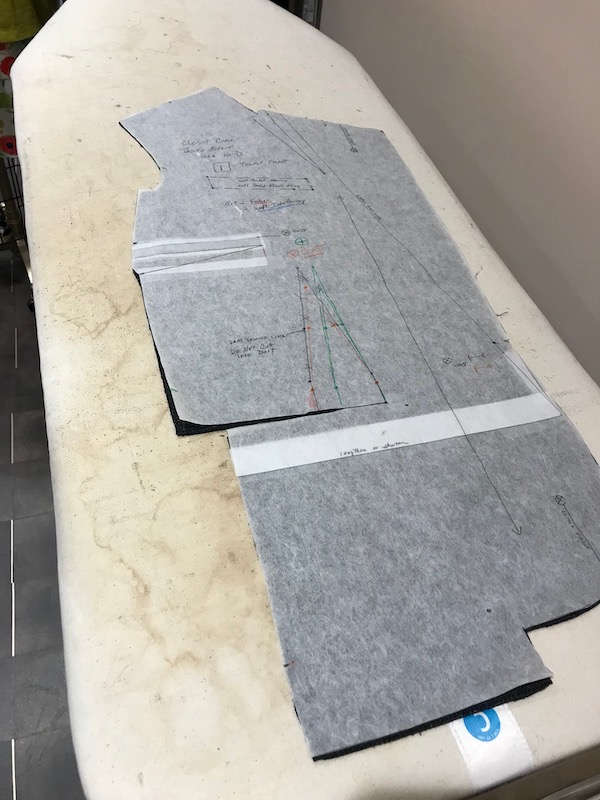
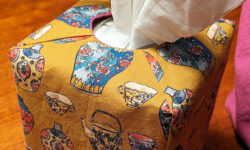
After making and fine tuning my second muslin for the Jasika Blazer, it is time to cut out the fabric, interfacing and lining. I am using a beautiful wool tweed and a Bemberg rayon lining. I ordered the interfacing/shoulder pad kit from Closet Core just to simplify things a little. Because there are a LOT of pieces, and some of them get cut out of fabric and one of the interfacings, I color coded all my pattern pieces: blue for fabric, yellow for weft interfacing, orange for knit, purple for hair canvas and green for lining. That helped me to see what was cut and what still needed to be cut.
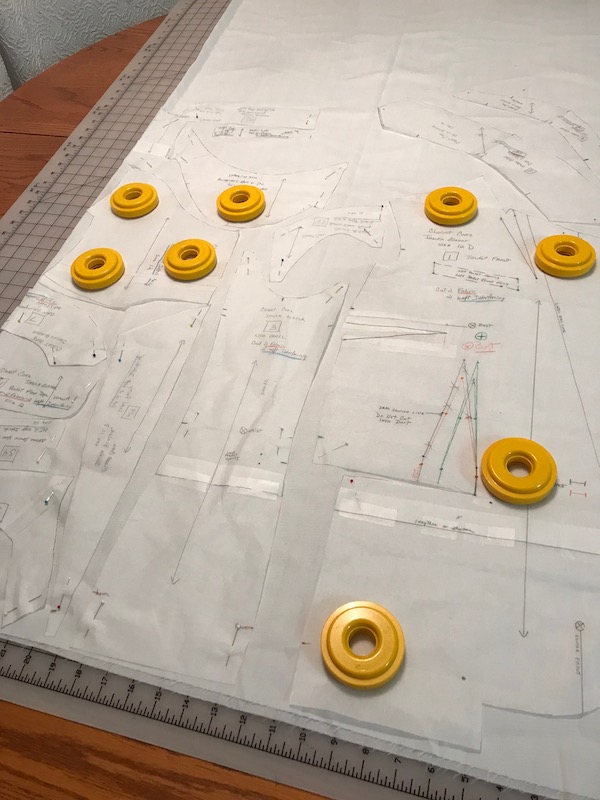
It is important to cut your fabric on grain so your jacket doesn’t distort and hang on your body in an odd way. I pulled a crosswise thread on both ends of the wool and cut along that thread. Because it is a tweed with no obvious print or plaid to match, I decided to cut the pattern with the fabric folded as opposed to in a single layer. I made sure both the selvage and the cross wise grain were straight. I did decide to cut all my pieces as if I had a nap just so there wouldn’t be any surprises.
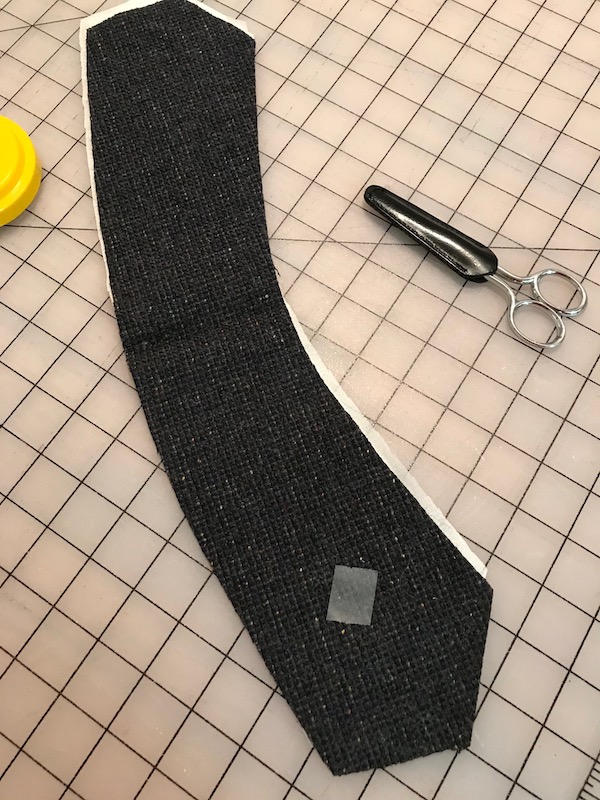
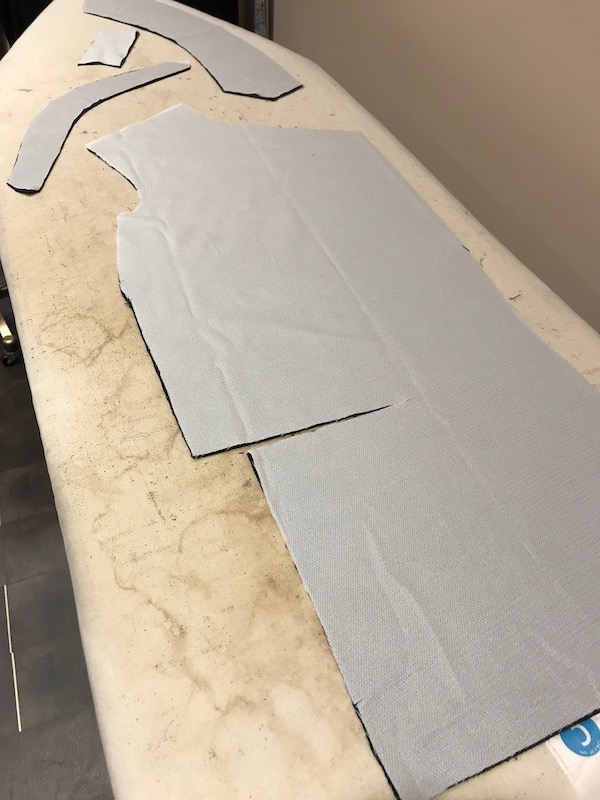
The wool was cut first. After cutting out, I clipped the notches ¼”. All other construction markings were done after the fusible interfacing is applied. It is very difficult to tell right side from wrong side on the wool, so I place a small piece of blue painter’s tape on the right side. I peel off the tape just before I do any pressing. I like painter’s tape because it stays put without damaging the fabric when I remove it.
Once everything is cut out, I fuse the interfacing to the correct pieces. I am very careful at the fusing stage so the fabric/interfacing shape matches the original pattern. I lay the fabric on the ironing board, wrong side up. Then I lay the pattern on top and gently move the fabric to match the shape of the pattern. Loosely woven fabrics can stretch and shift as they are handled, and I don’t want any distortion in my final jacket (My very first jacket suffered from this – but we learn). Then I remove the pattern and place my interfacing on top of the fabric. I may again check using the pattern, then I fuse. To fuse I will press (an up and down movement), not iron (a back and forth movement). Pressing sets the glue into the fabric and binds it to the interfacing, ironing will stretch the fabric and can cause the interfacing to shift and bubble. Medium high heat, steam and pressure for about 15 seconds, I start at the center of the piece and work my way out, overlapping to make sure everything is fused.

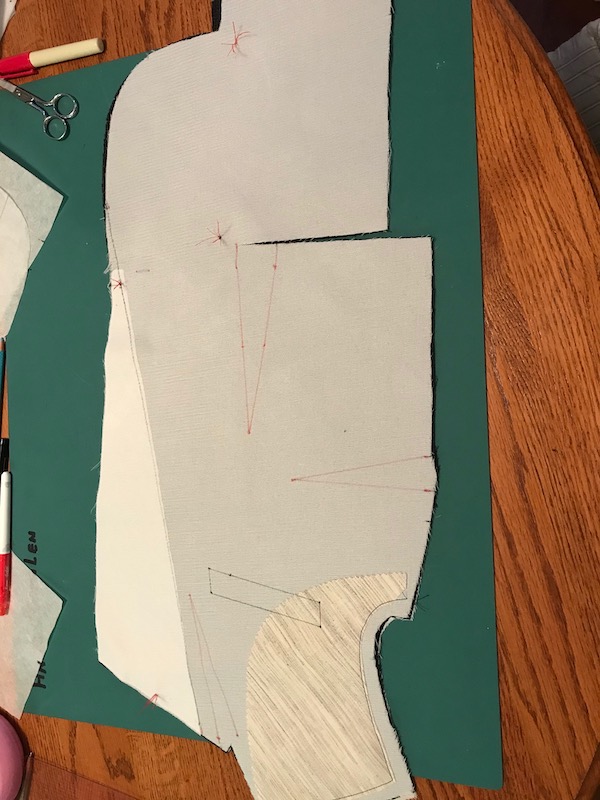
Fusing will take some time, so enjoy this zen time. Go into your zone, watch your favorite podcast, or listen to a good audio book. Just go with it! After the fusing I go back and mark the pattern with all dots, darts, pocket welts and roll line. For the dots I use tailor tacks because I can see them from both sides.
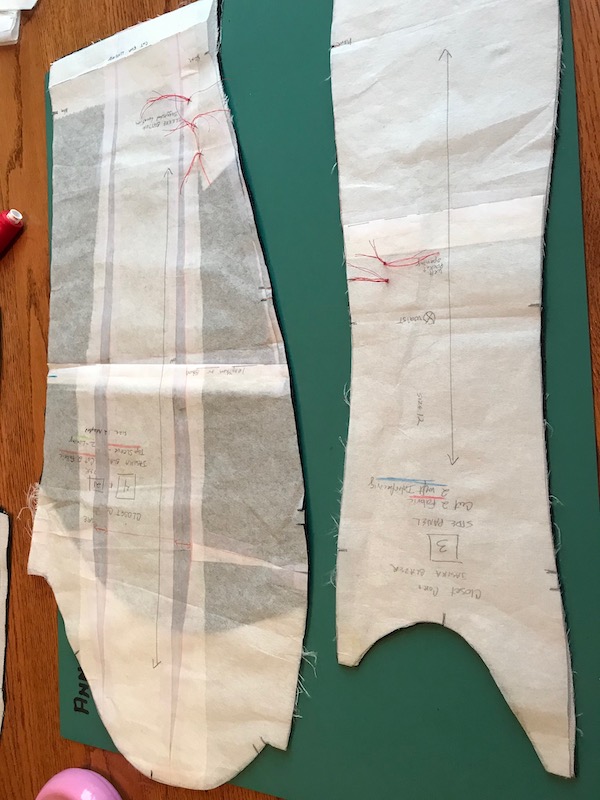
Then I will draw in the dart legs, welt outlines, center front and roll line with a chalk wheel, Frixion marker, or thread tracing. This will give me an accurate guide for stitching.
Now I’m ready for the fun. Let’s sew!


Reading these details is very informative, and encouraging.
Loved the tips on fusible interfacing! Thank you!