


Another pocket tutorial! Could there be this much to say about pockets? The short answer is: yes! Shirt pockets are often a focal point on your garment, so here are two of our favorite methods for getting them looking sharp.
Baste a pressing line
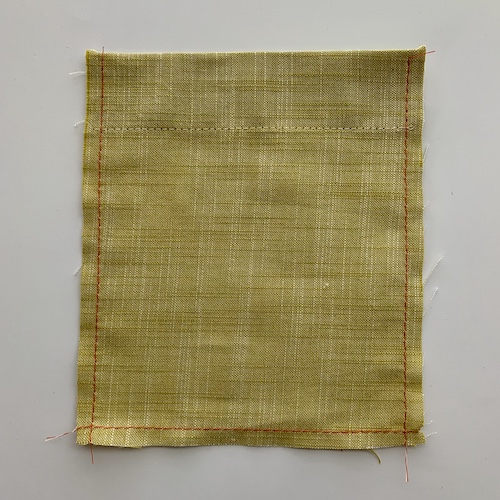
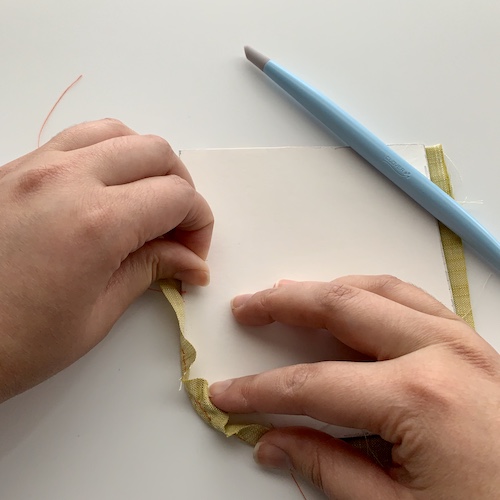
- 1. First, hem the top (opening) of your pocket as instructed by your pattern. To get crisp, even folds on the edges of your rectangular or chevron-shaped pocket, baste a line of stitches (orange) along bottom and sides, just inside the seam allowance. I like to use the seam allowance guides on my machine, and once the pocket is aligned, I move my needle one notch to the right.
- 2. Press the bottom up first, and then the sides. The basting stitches are your guides, so you don’t even have to measure! I’m using the Grainline Archer pocket for this demo, and the seam allowances are a tiny 1/4″ – so much easier to get it neat with a basting guide.

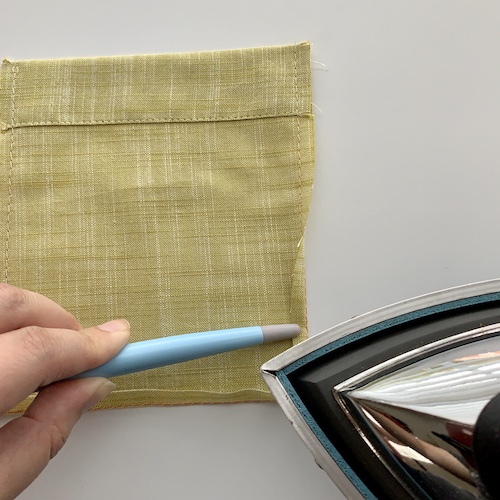
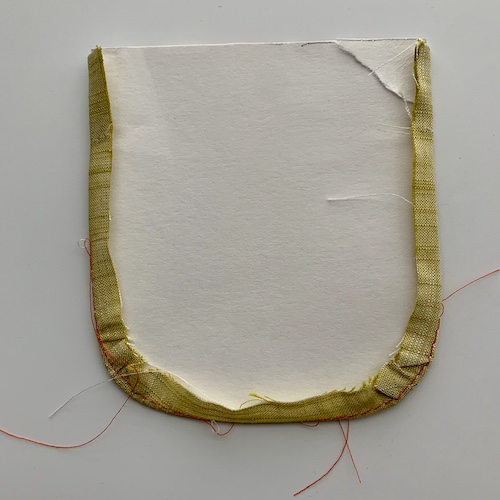
3. I also like to press down the top corners into a little point, so the raw edges don’t peek out at the top of my pocket when it’s stitched on. This stiletto is a dream for pressing – it has a silicone end that is iron safe.

- Any visible threads can be easily pulled after pressing, but if your thread blends in with your fabric, then you don’t even need to remove the basting unless it bothers you!
Make a cardboard template
This is a great tool for all pockets, but especially for those with curved edges.
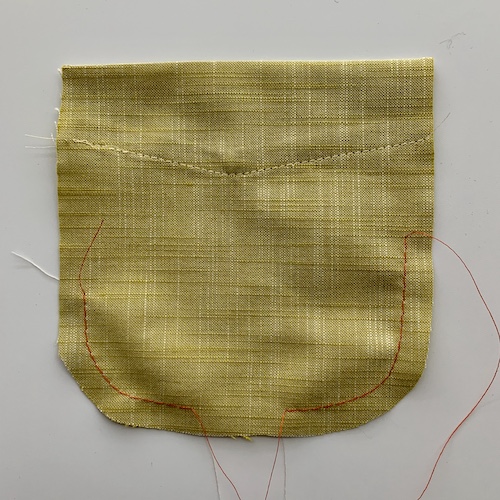
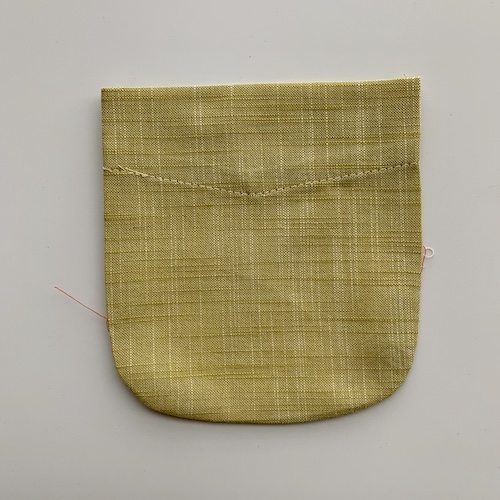
1. First, hem the top (opening) of your pocket, following your pattern’s instructions. The pocket used for this demo comes from Closet Core Patterns’ Kalle Shirt & Shirtdress. Because this pocket has curved bottom corners, it helps to sew a line of basting stitches around each of those corners (separately, as shown). Make sure your stitches are just inside the seam allowance and leave long thread tails at the beginning and end of your stitching.

2. Trace off your pocket pattern piece and mark your seam allowance (bottom and sides) and hem allowance (the top/opening edge). On this pattern, the seam allowance is 3/8” (or 1 cm) – check your pattern to be sure you’re marking the right amount.

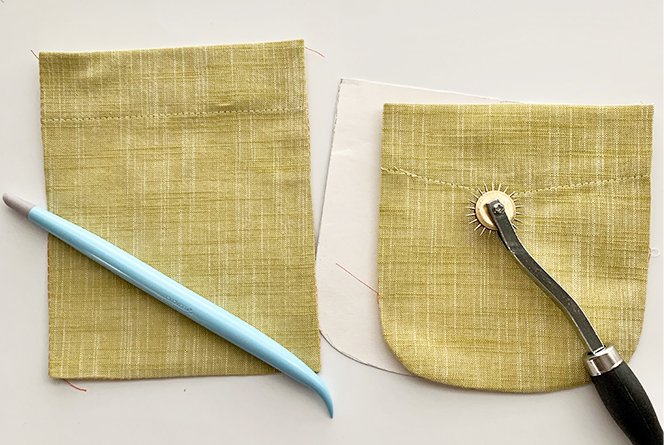
- 3. Next, you can trim off the seam/hem allowance and trace this piece onto cardboard. I love using old cereal/snack boxes for this – they’re thin but sturdy. If you’re not into tracing, my favorite (and quick!) method is to use a spiky tracing wheel.
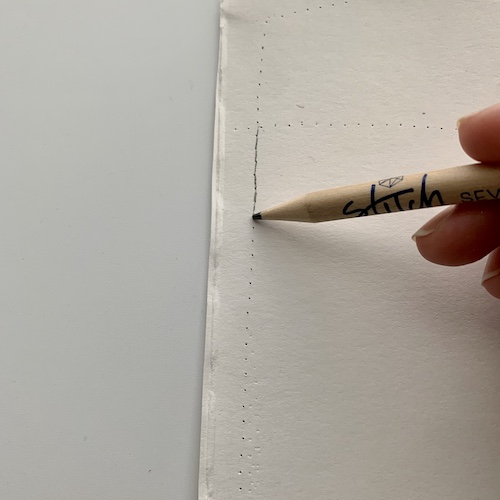
- After you have drawn in your seam/hem allowances on your pocket pattern piece, lay it directly on your cardboard (and make sure you’re working on a surface that can handle some light scraping). Lightly tape it down so it doesn’t shift. Trace around your markings with the spiky tracing wheel, pressing the spikes into the cardboard. When you remove your pattern piece, you’ll see a “dotted line” that you can follow with a pencil or just with your scissors.
 There’s your pocket template!
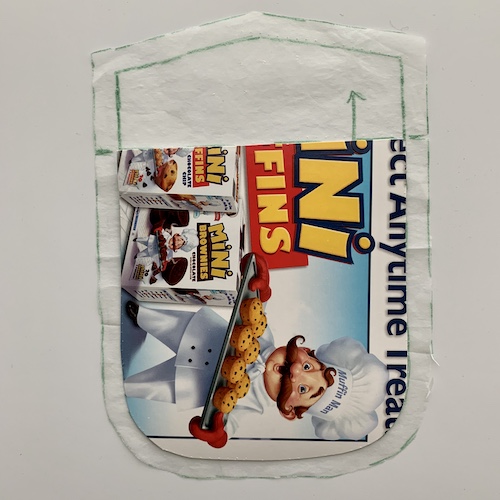
- 4. Now, lay your pressing template on top of your pocket and center it. Carefully start folding and pressing the seam allowance over the template with your iron. To help turn the rounded corners, pull up on your basting stitches to slightly gather them to fit the template. Keep pressing until you’re happy with them. Then just remove the template and you’re done!
-
As always, let us know if you use any of our tips by tagging us when you share your makes! We love seeing what you make when you #SewWithStitch!


Cool techniques. Thanks for sharing.