


Back pockets are a great place to add personalized details to your jeans. An easy way to ensure perfect stitching on your pocket design is to use Sticky Fabri-Solvy. It comes on a roll, or in pre-cut 8″x10″ sheets – perfect for popping through the printer! We’ve put together a short tutorial for using it to create custom pockets on your jeans.
First, pick your thread! Our preferred topstitching thread for denim is Gütermann Mara 70 (second from the top) because it gives you bold stitches without the tension issues you can often get with the thicker Mara 30 (top). For more color options, you can also try using two strands of regular thread, (middle) or one strand of regular thread and a triple stitch (fourth from the top) on your machine. Test out your options (like we have done below) and see what you like best! (The stitching at the bottom is a single strand of regular thread, using a normal straight stitch.)

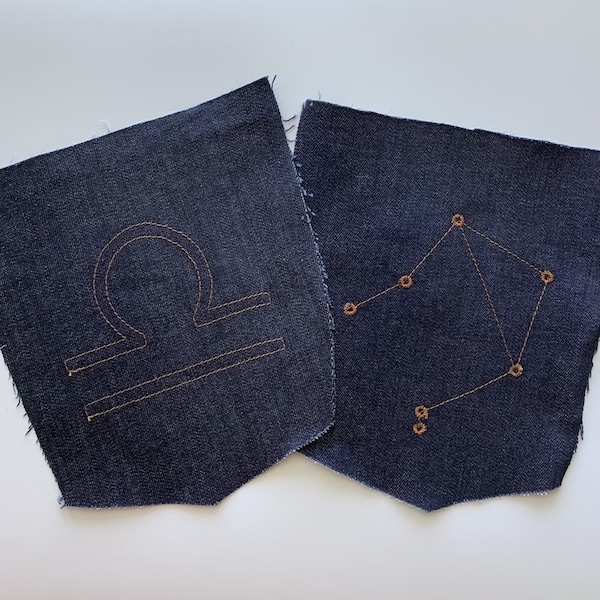
You will also need to pick your design. If you like to draw, you can of course sketch your own design. Generic shapes and symbols are easy to find as clip art, and you can even purchase downloadable designs from your favorite artists on sites like Etsy. Closet Core Patterns also has a fantastic downloadable PDF filled with 33 different back pocket templates!
Create your pocket:
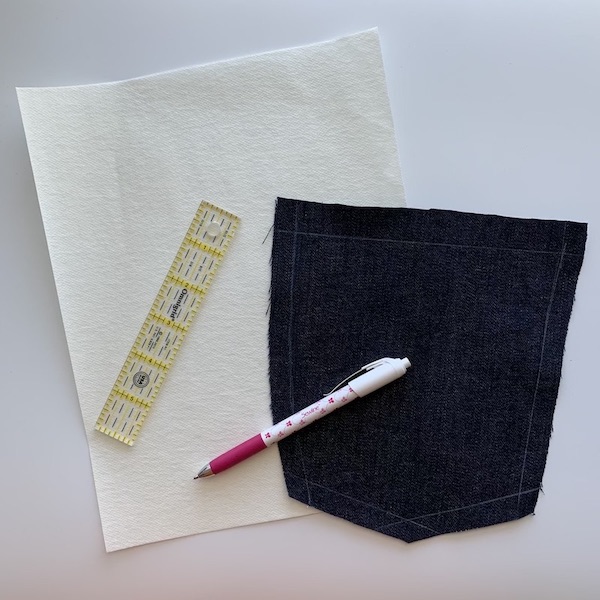
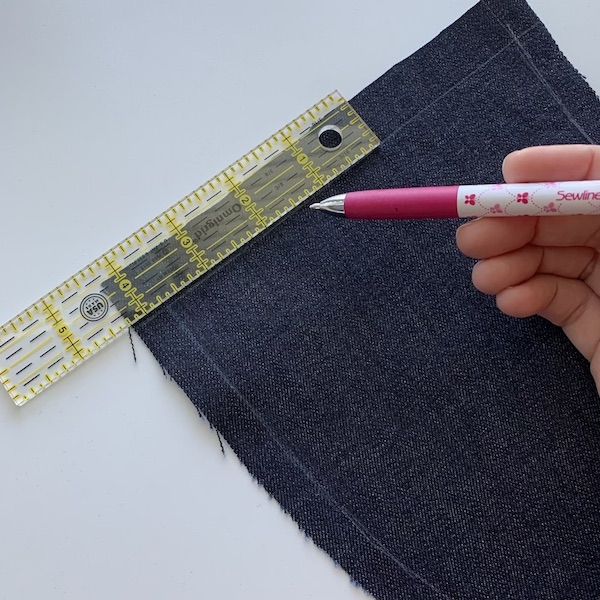
1. Cut out pockets and mark seam allowances. (You can find this handy ruler and ceramic marking pencil in our shop!) These will help you with placement of your design. Interface the pocket as needed.
2. Choose your design and Print it first on regular paper to make sure the scale and layout works.

3. Once you have it how you want it, print directly onto the Sticky Fabri-Solvy sheet. If you have other things you want to embroider, use up the whole page with designs. (A tip for the little bits of fabri-solvy you will have left over: print your design on regular paper, tape the fabri-solvy piece over the design portion of the paper, and run it back through the printer!)
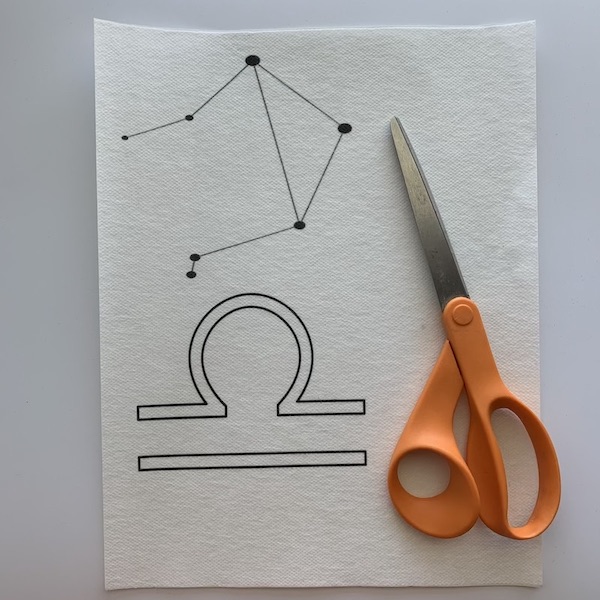
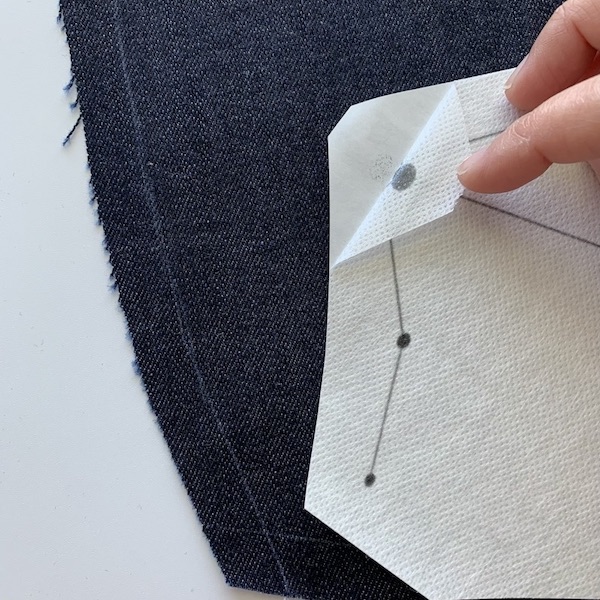
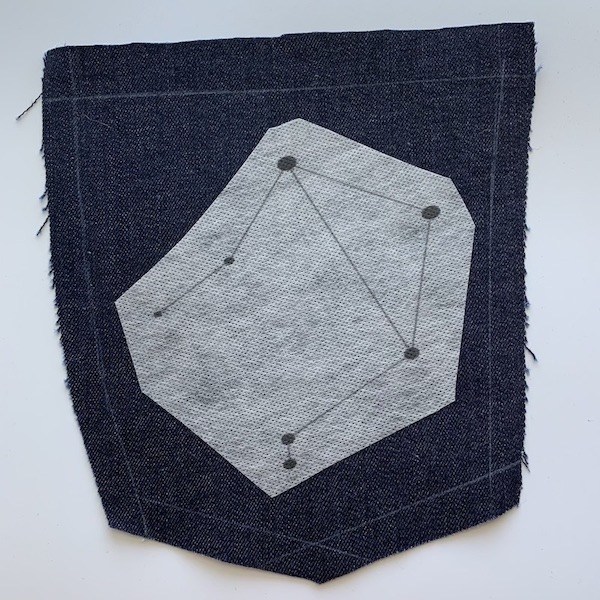
5. Cut out your design. Peel away backing, and stick it to the pocket. The seam allowance markings will help you line it up, but remember that you will also be topstitching around the edge of the pocket to attach it to your jeans. Depending on the design you choose, you may want to leave an extra 3/8″ all around for that, too.
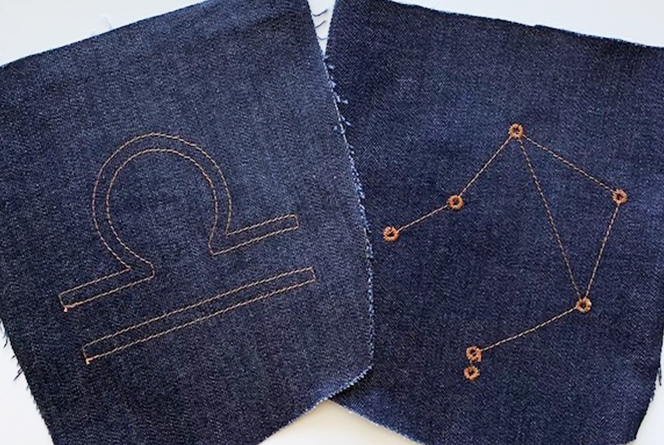
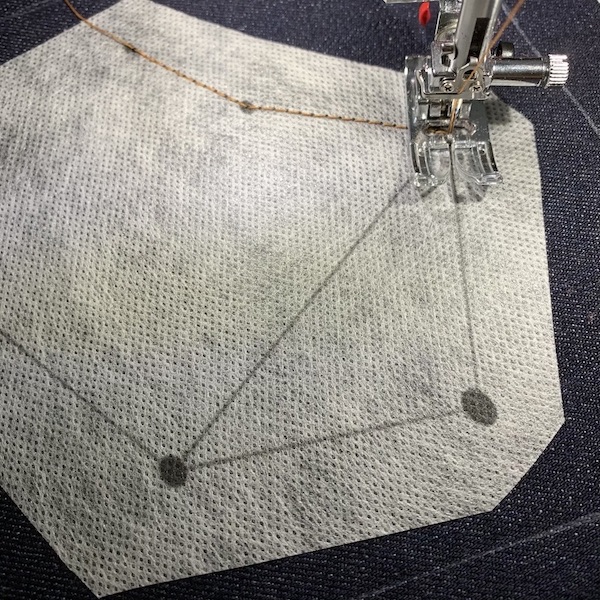
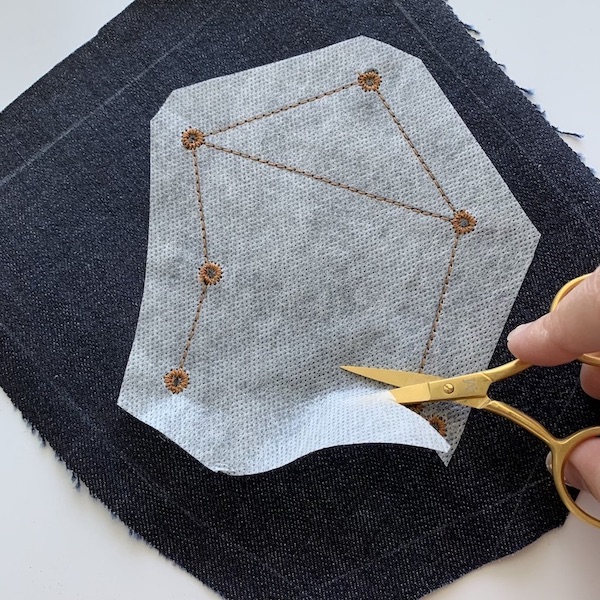
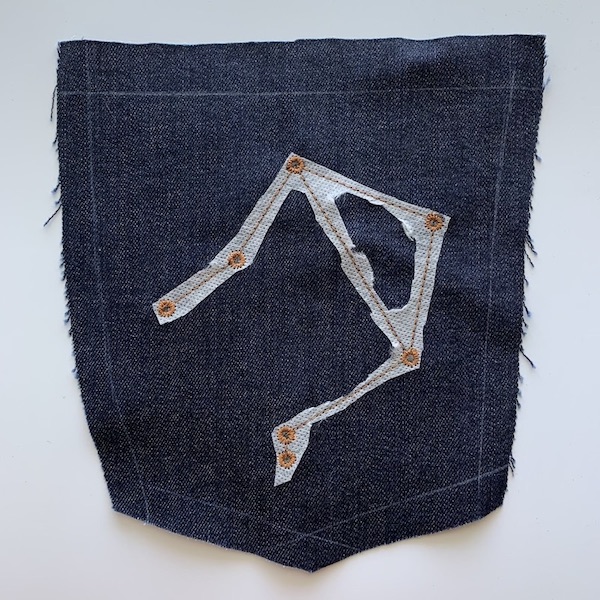
6. Stitch over the design – on your machine or by hand. Straight lines and smooth curves make for easy machine stitching. The “stars” in the constellation were done with an eyelet stitch on the machine.
7. Gently peel back and trim away any excess Fabri-Solvy. Small, sharp snips are your friend here. Be careful not to pull at your stitches.
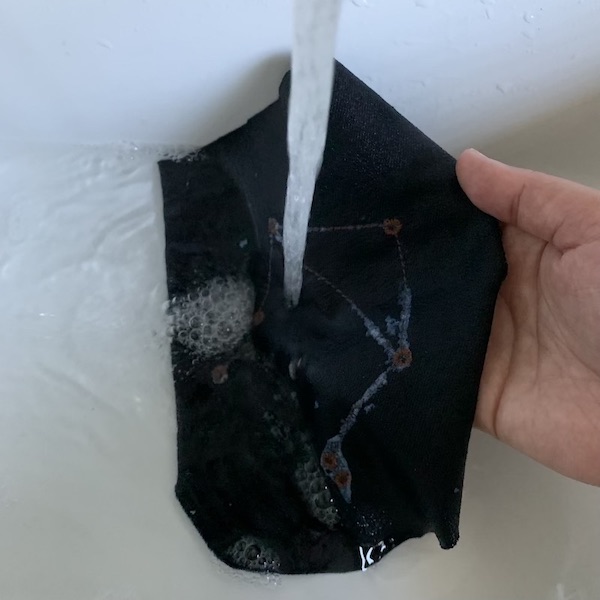
8. Wash away any remaining bits with warm water. A little bit of encouragement from your fingers will also help. Again, be careful not to pull at your stitches.
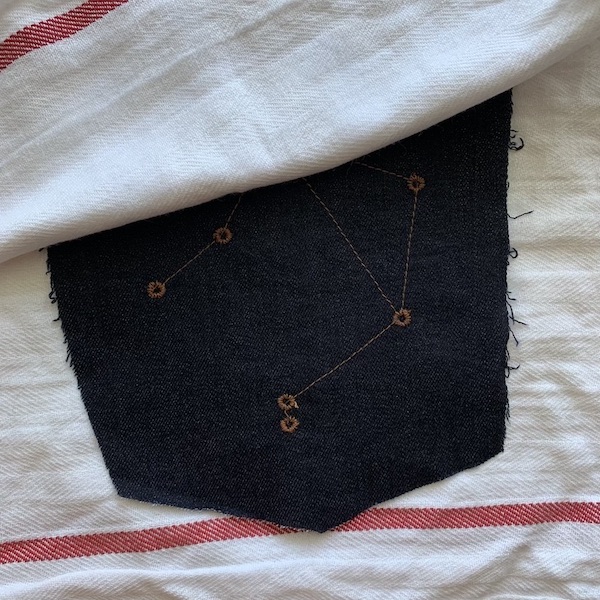
9. Squeeze the excess water out by sandwiching the pocket in a towel and pressing down with your hands. After that, lay it flat to dry and give it a press. Done! Follow your pattern’s instructions for assembling and attaching the pockets to your jeans.
Being able to customize a garment is one of our favorite reasons to sew, and we’re sure it’s one of yours as well! We can’t wait to see what kinds of designs you come up with!


As a Libra, I can only cheer on this idea! I don’t have a ma eyelet stitch…but maybe some flat rivets for stars ✨?! Not sure – I may need to test ?
Great ideas. Thanks for sharing.