
Today on the blog, Mary is sharing some of the t-shirts she recently made for her daughter using our Stitch Tee! She has hacked this pattern for different sleeve and neckline styles to get three completely different looks.. Plus, she has great tips for creating these same hacks yourself – perfect for when you already have a well-fitting pattern that you want to update with the latest trends!
One weekend my daughter asked me to make her some new jersey knit tops. She had very specific ideas of what she wanted: a funnel neck, a scoop neck, a mock wrap, a bell sleeve, a long bishop sleeve, and a puff sleeve. In other words, not your standard tee. Now I could have found some patterns to address all those options, but it was overcast and raining, and I just wanted to hunker down at home and sew.
So, I pulled out our TNT (Tried and True) Stitch Tee from Birdstalk Patterns – the same one we use to teach the t-shirt class! I had already made Brigid a tee and a turtleneck from this pattern.
First would be a funnel neck and bell sleeve tee. For the funnel neck I took the easy way and slapped the Grace Top (Friday Pattern Co.) neckline onto the Stitch Tee, matching the shoulders and center front. Then I taped it at the neckline and folded the excess Grace Pattern out of the way. I also shortened the bodices, as per requested.
Stitch Tee with neckline from Grace Top
For the sleeves, I cut the long sleeve off at the elbow (I took a guess). I cut the bottom of the sleeve from cuff to elbow in about 8 places, leaving a paper hinge at the elbow. Then I spread them until I had the fullness I thought I wanted for the sleeve. I taped them down, traced the outline, truing the edges and adding seam allowance to both elbow seams where I cut the pattern.
The results!

(Rayon jersey from my stash)
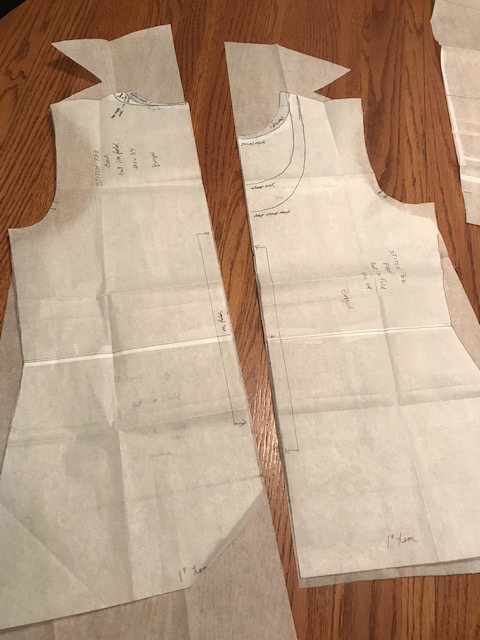
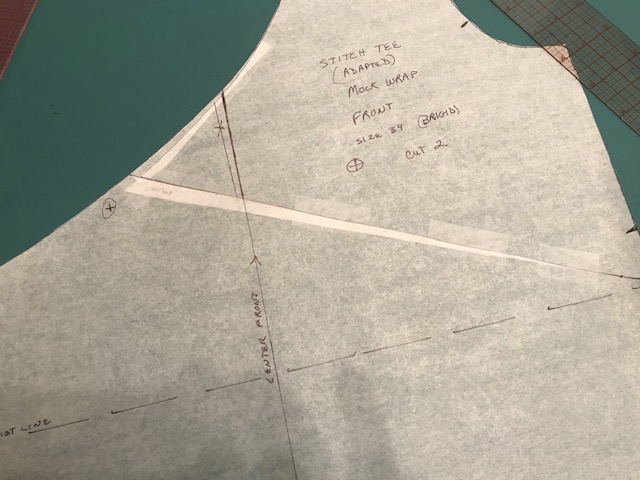
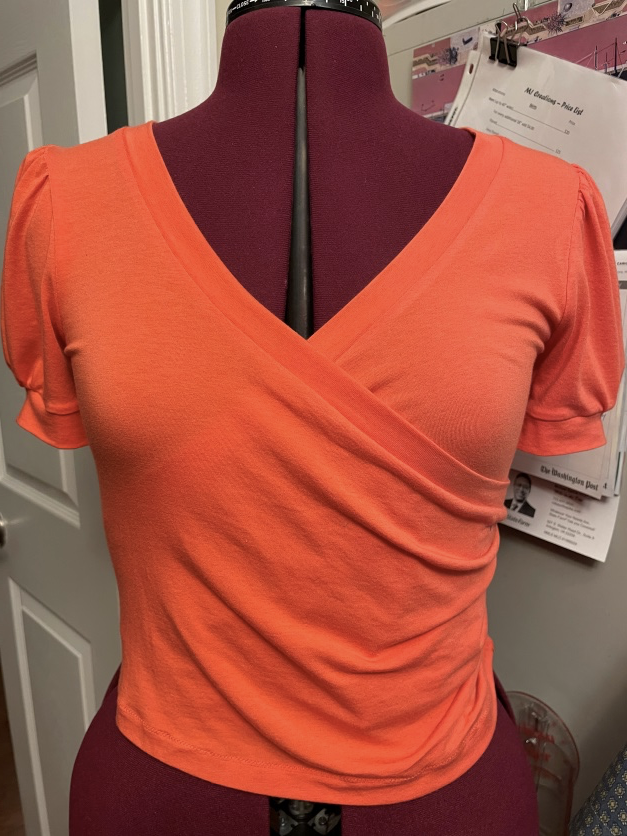
Next up: The Mock Wrap and Bishop Sleeve. First I traced another front bodice and taped it to the original so I would have a full bodice pattern. Then I measured up about 3“ from the waist and marked one side. Because I wanted to add a 1” wide band to the neckline, I also measured out 1” from the neck edge and marked that. I used my trusty curve and drew a line from the shoulder/neck mark to the waist mark and cut off the excess.
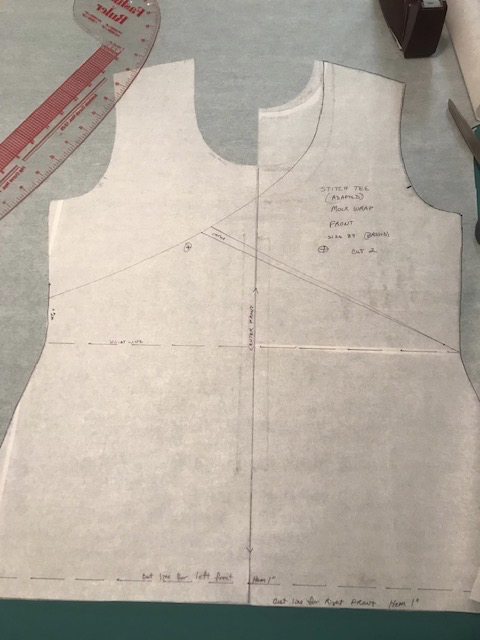
Sometimes a V-neck or a deep scoop neck will gape, so I cut a line from the neckline to the shoulder seam, leaving a little hinge at the seamline, and then from the cutting line to the shoulder seam (LEAVE THE HINGE- it keeps the seam allowances the same). Overlap by ¼, tape down, add 3/8” seam allowance at the neckline and true the seams if necessary.
The band at the neck was cut double the finished width plus seam allowances (2”+3/4”) wide. I calculate the length as 7/8 or 9/10 the length of the neckline. If it is a soft, light fabric I will often use 7/8; a firmer, thicker fabric will be 9/10. (Example: the neckline measures 24”: 24 x 7/8 = 21” long. A 30” neckline: 30 x 9/10 = 27” long. Notice how I cheated and used easy numbers to calculate! You get the idea). Mark the center of the back neckline and the center of the neck band with a notch.
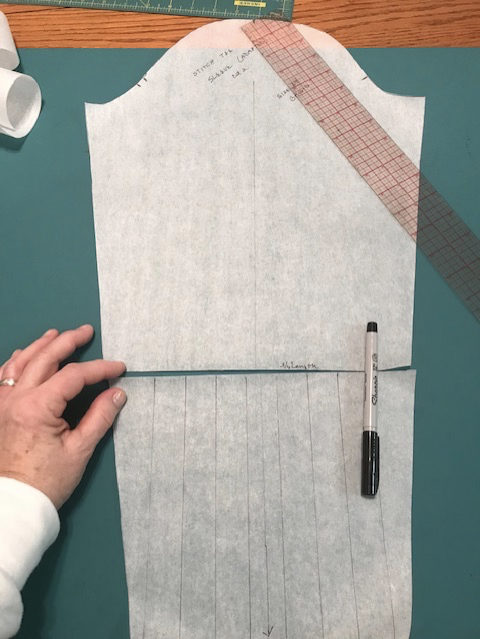
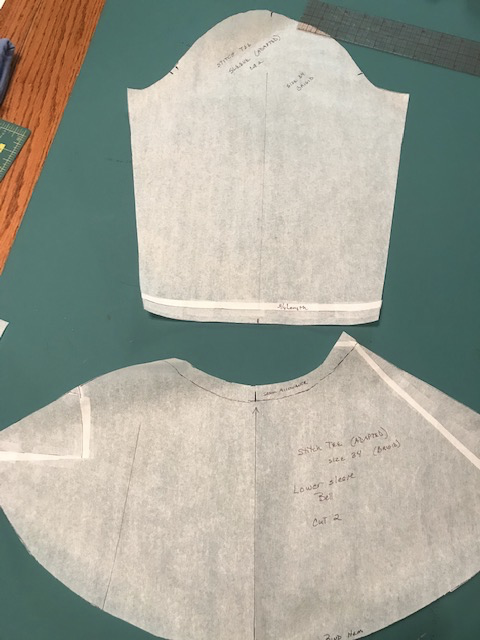
For the Bishop Sleeve: I cut off the bottom 3” of the long sleeve (I wanted a 3” cuff). I drew a line down the middle of the sleeve, and 2 on each side of that line (5 total). Then I cut the lines and spread the pieces to the desired amount, taped them down and traced the underarm seams, added 1-1 ½” plus the seam allowance (3/8”) to the bottom of the sleeve so it would have a little soft spillover at the cuff. I also put a notch at the center of the bottom of the sleeve.
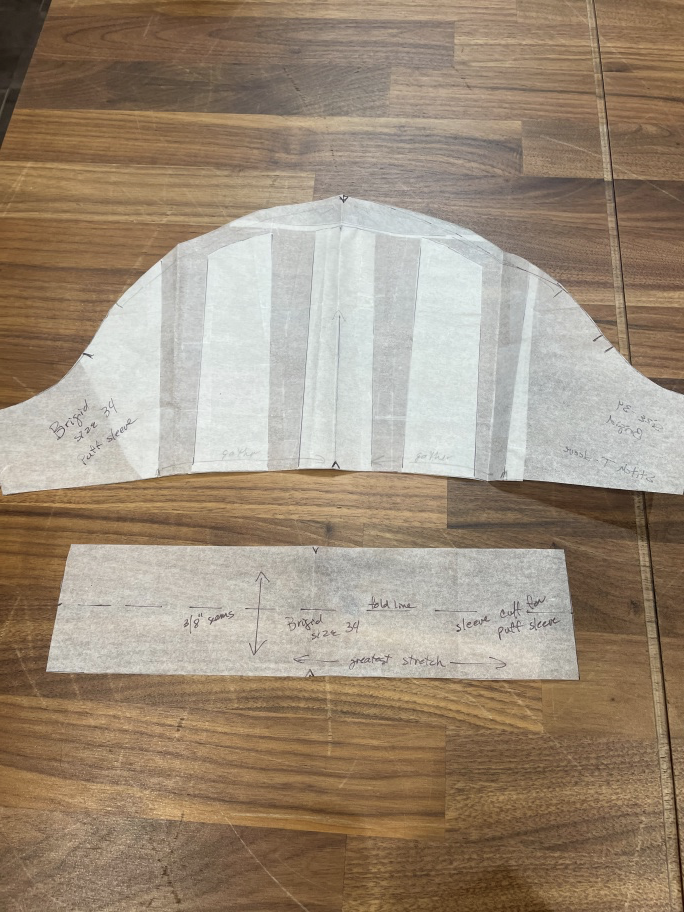
At the sleeve cap, I traced the sleeve from the underarm along the sleeve curve until the notch, then I raised the cap of the sleeve by about 1-1 ½” and connected to the other notch and underarm curve.
Since the cuff will be folded, I double the length and add ¾” for seam allowances (3/8” per seam). Add a notch at the center at the seam allowance. I also narrowed the cuff by ¾” so it would hug the wrist better.
I followed the same process to make a short puff sleeve.
This lovely make got two showings, one with long sleeves and one with a short puffed sleeve.

(Bamboo/Cotton Jersey from Stitch Sew Shop)
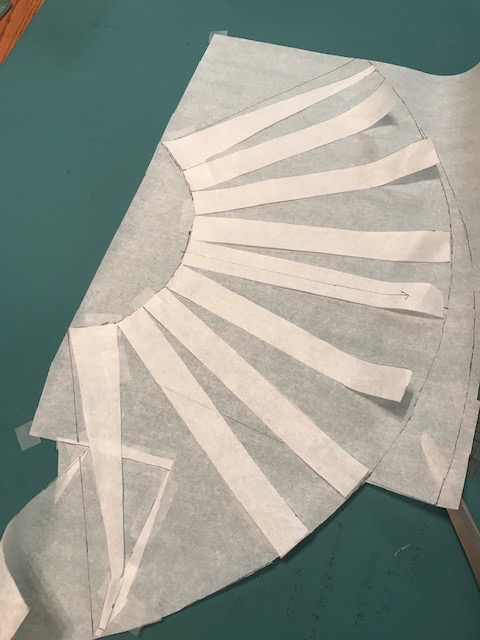
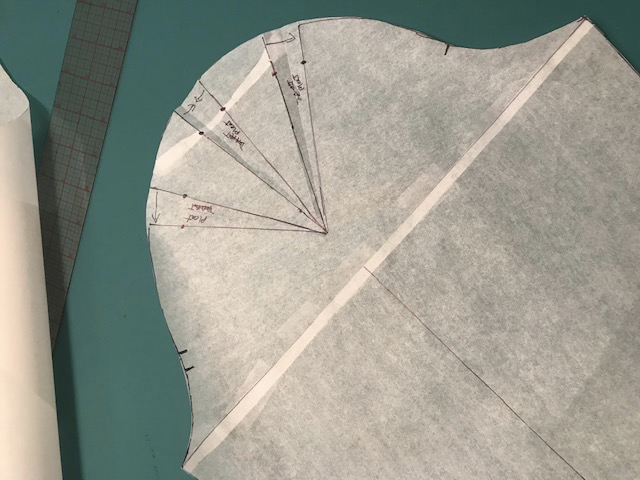
The last tee was a simple scoop neck with the fullness in the sleeve cap only. I cut the sleeve cap off, then cut the pattern from top center to the bottom center, and cut a line on each side angled down to the center. I pulled the pieces up and out until I had the fullness I wanted, taped it to the paper and drew the new seam lines, truing as I went.
After taping and retracing, I reconnected to sleeve cap to the rest of the sleeve. Because I wanted pleats instead of gathers, I marked them as such. The top center pleat is a box pleat.
I think next time I will add a little more fullness for more of a statement.

My daughter is very happy with her new creations!
(Rayon Jersey from Stitch Sew Shop)