For our current window display, we decided to embrace the coziness of the cooler months with comfy knit outfits. And even though we are easing into spring now, it still feels nice to wrap yourself up in soft sweaters and cozy fleece. And what could be better for this transitional weather than a knit skirt?
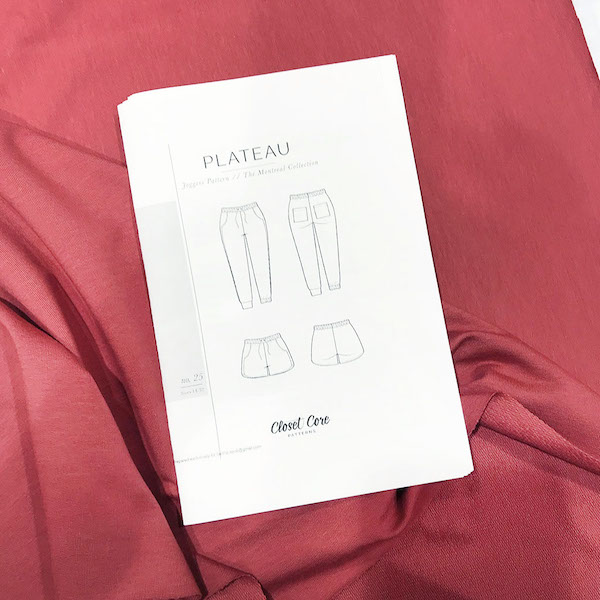
Shop Girl Valerie put together a wonderful little tutorial for one of the items she made for our window: a knit skirt that she hacked using the Plateau Joggers from Closet Core Patterns. Check out her process here, and if you try it yourself, let us know!
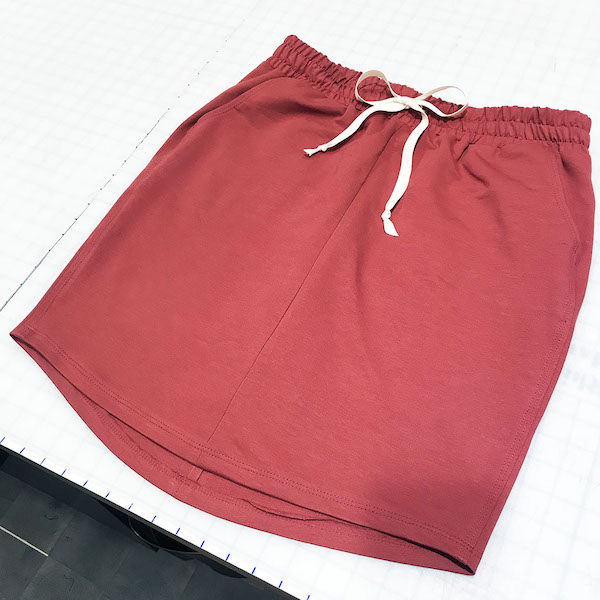
Maker: Valerie
Pattern Used:
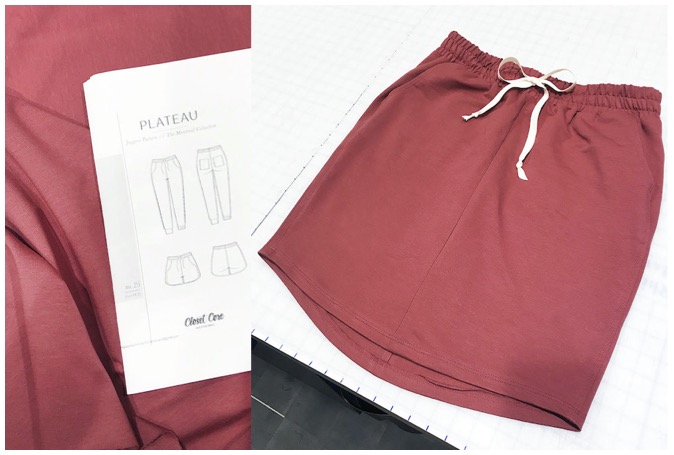
Plateau Joggers from Closet Core
Fabric Used:
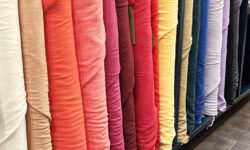
Cotton French Terry Knit in the color Woodrose
Details:
For the winter window at Stitch, we wanted a set of cozy outfits featuring some of our softest and warmest fabric. Instead of featuring all sweat pants and sweat shirts, we wanted to mix it up a little!
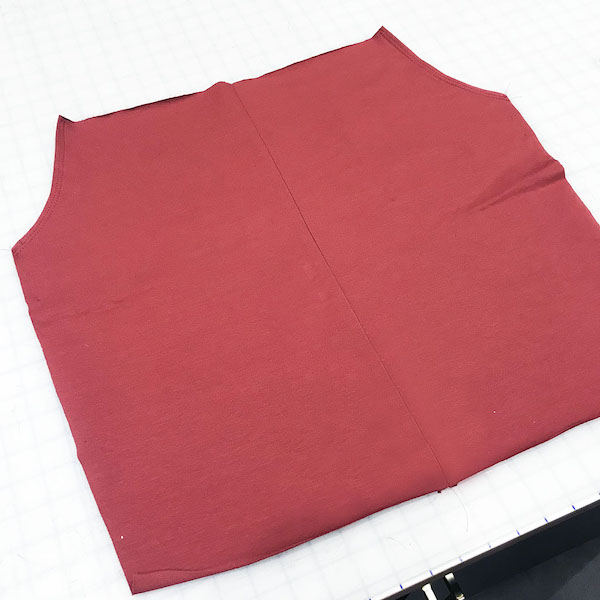
We decided a skirt outfit would look great with the other outfits, and I decided to use the Plateau Joggers pattern from Closet Core as my starting point. I had made the Joggers last fall when I taught the class at Stitch and loved them, and I knew it would be simple to alter the pattern to make a cute skirt.
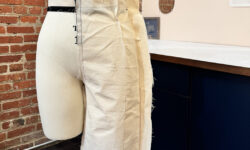
The first step was to figure out the length. I simply held the pattern up to me in a mirror to determine the finished length I wanted, and then added 1” for the hem. I marked that spot on my pattern and folded the excess out of the way (I could have also traced out a new copy and just cut the traced version there).
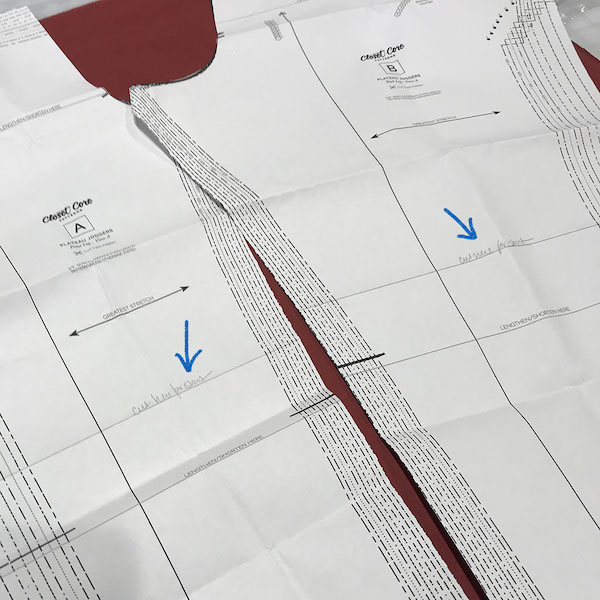
It’s actually pretty easy to turn a pants pattern into a skirt! The simplest way is to make your skirt have a center front and center back seam.
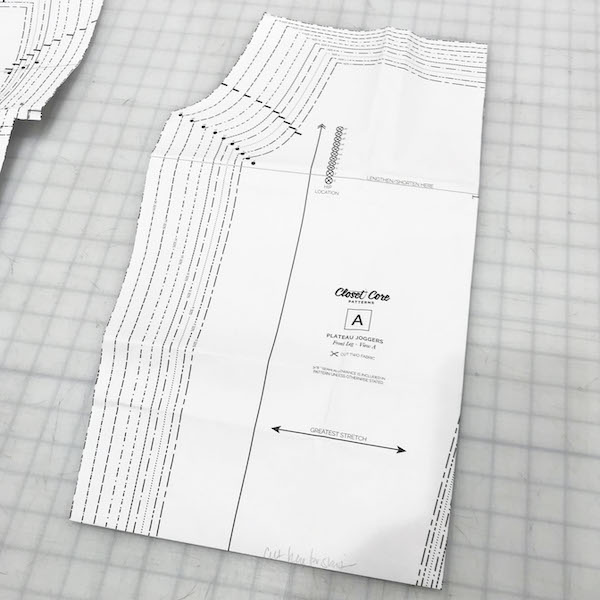
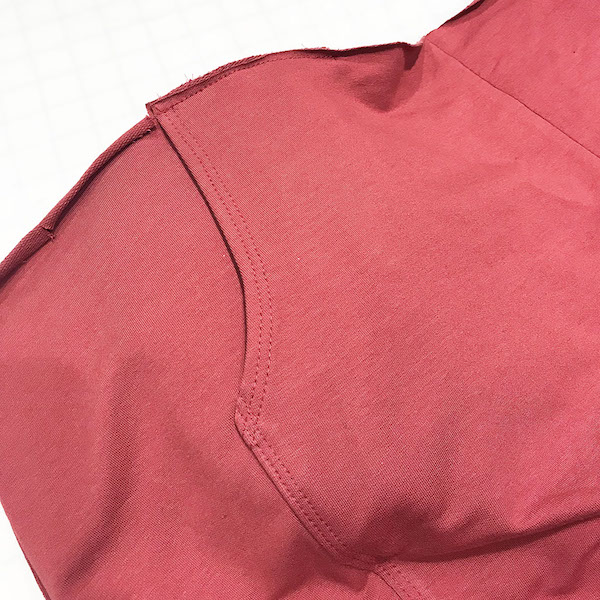
For the front of the skirt, I used a straight ruler to draw a line on the front leg pattern, starting from the waist and going straight down to the hem.

For the back, I did almost the same thing, I just used a styling design ruler to maintain the gentle curve of the back pant pattern. You need that little bit of curve to leave space for your bum!

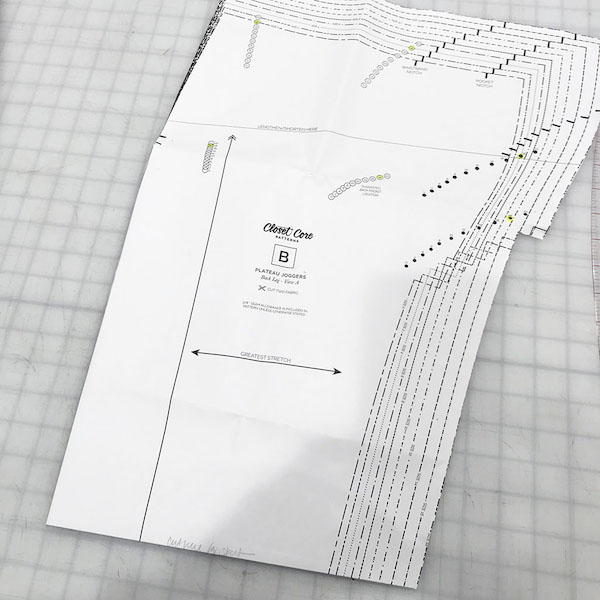
Then I used those adjusted patterns to cut my fabric as usual, and then sewed the center front seam and center back seam, so I had a completed front and back (using the same seam allowance as the original pattern – 3/8”).
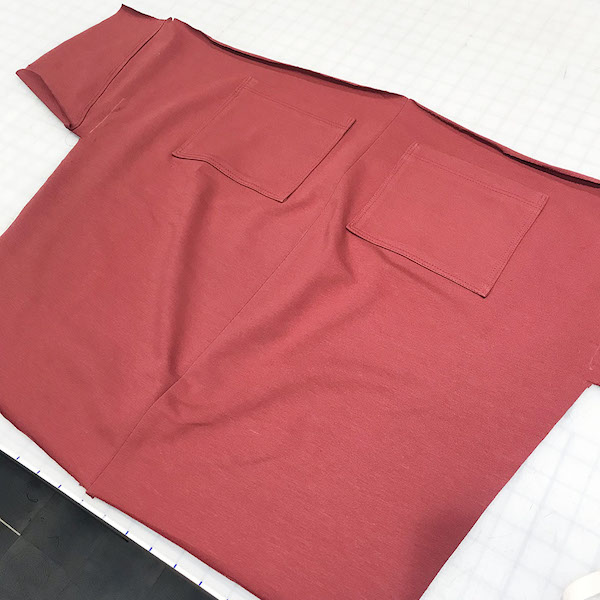
The side seam of the Plateau has a clever design that results in a great looking front pocket – the double needle topstitching is optional, but I thought it looked great on my pants, so I repeated that step on my skirt.
I followed the pattern instructions for completing the side seams and the waistband exactly as I did with the pants.
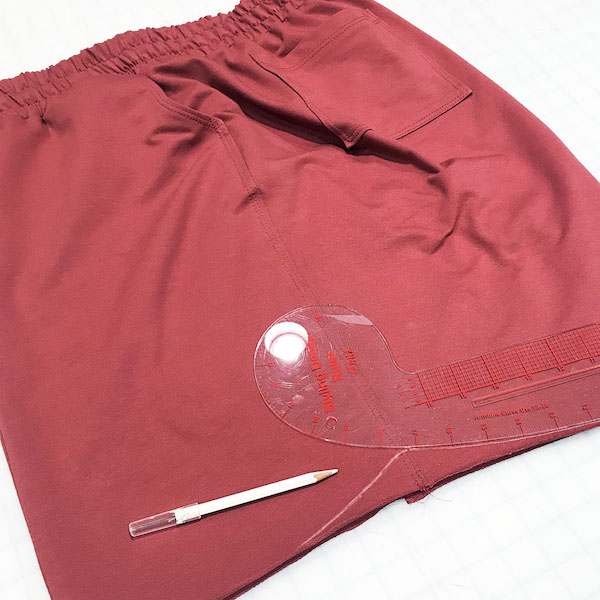
For the hem, I thought a gentle notched curve would look great, similar to how the Plateau shorts are finished. I used the styling design ruler again to draw a two curves that joined at the side seam.
(If I make this skirt again, I will probably make this curve a little more dramatic and the point finish a little higher on the side seam.)
To finish off the skirt, I pressed up the 1” I included on the revised pattern, and stitched it down with a double needle, to match the finishing on side seams and the pockets.
A quick tip for sewing hems or topstitching with a double needle: tighten your top tension just a bit (a half step at most), and loosen your bobbin tension just a bit (maybe a three-quarter turn), to make your seams springy enough that the threads won’t snap when the seams stretch. Remember to return both settings back to normal!
Stitch Samples is a blog series that gives you a closer look at the samples made by members of our shop gang.