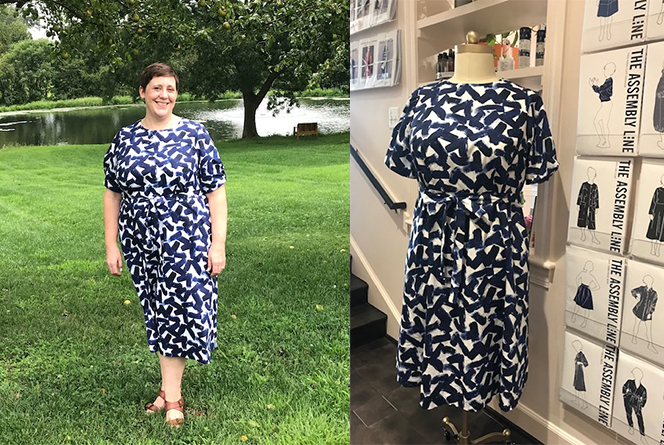
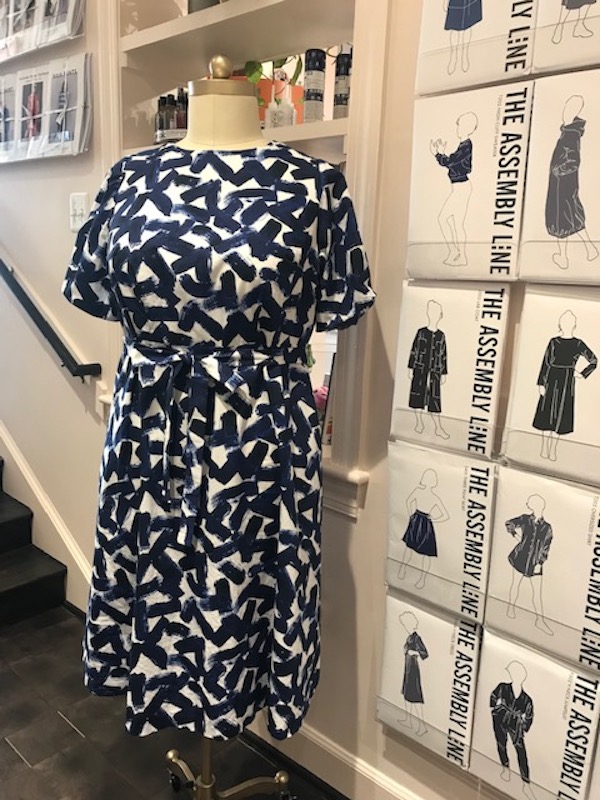
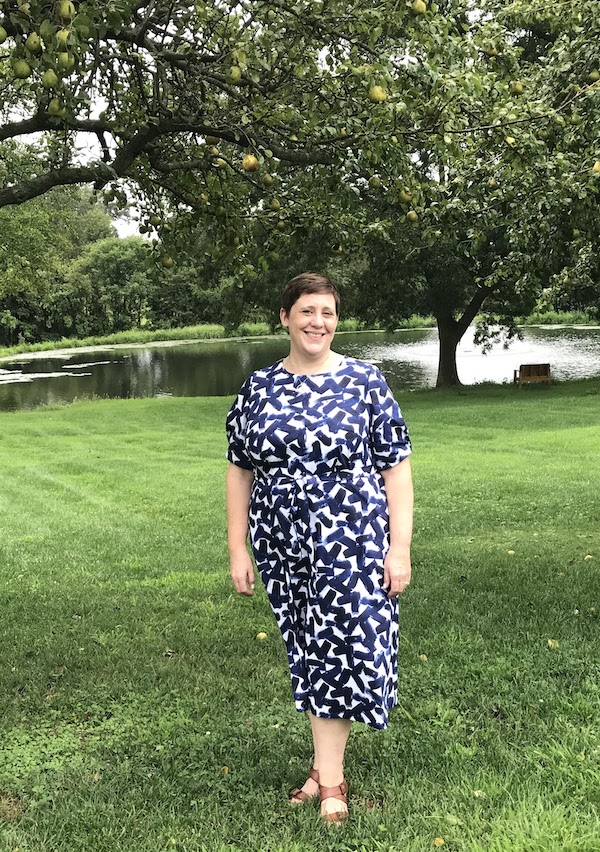
Shop Girl Melanie is on the blog today, sharing her most recent Stitch Sample: the Multi-Sleeve Midi Dress from The Assembly Line, made up in a beautiful Italian cotton. Read all about the adjustments she made for a great fit (over the course of FOUR muslins!), and a few other changes she made to suit her own style.
Maker: Melanie
Pattern Used:
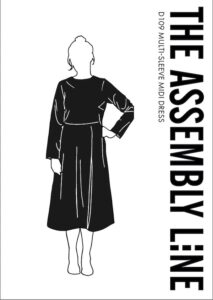
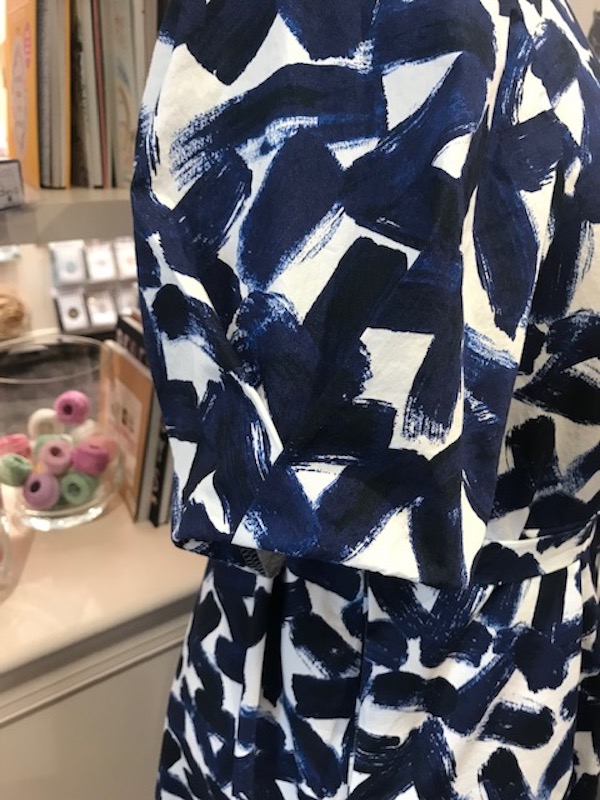
Multi-Sleeve Midi Dress with the origami sleeve from the sleeve extension pattern.
From the pattern description: “This midi dress sewing pattern has a classic silhouette, a round neck, a concealed rear zip and inseam pockets. The magic occurs when you put on the sleeve of your preference. The pattern features a basic long sleeve, a puff long sleeve with button cuff and a 3/4 box pleat sleeve with a cuff as well as a sleeveless version.”
The sleeve extension pattern is a PDF that you can purchase through the designer (and then have it printed by us!).
Fabric Used:
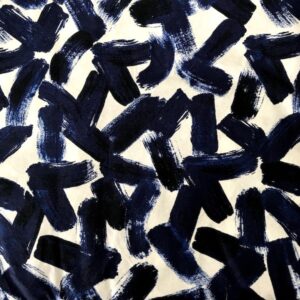
Italian Cotton in Blue Brushstroke
This fabric is no longer in stock, but we have some wonderful cotton shirtings, which are a similar weight.
Did you make a muslin?
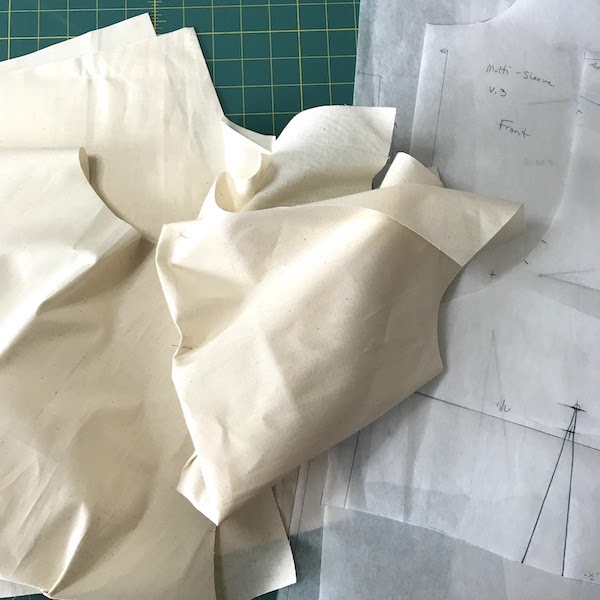
I did make a muslin, I made four, in fact! The first thing I noticed was that I needed an FBA. There was also some extra fabric in the back, which was hard to see and correct on myself. After doing the FBA, I made a second muslin and Shop Girl Mary helped me with a rounded back adjustment and we added some width to the skirt. The 3rd muslin still showed wrinkles in the back and some position issues with the darts. I did a narrow back adjustment and some repositioning for the 4th muslin and was happy with the fit.
I know that may sound like a lot of work, but it was definitely worth it. To save time and fabric, I only did a muslin of one sleeve and enough of the skirt to fit over my hips.
By doing only 1-2 adjustments at a time I was able to see what the issues clearly were. Had I done everything at once, it may have overcorrected.
Did you make any alterations to the pattern?
After the 1st muslin, I did decide to lower the neckline. Which was just a personal preference. In doing so, I found I no longer needed the invisible zipper. Just to be safe I did add a button closure at the back neck.
I also added a belt/tie to add some definition to my waistline.
Did you learn any new techniques/skills?
I learned a lot more about fitting. I had a basic understanding of techniques, but it was a good experience to walk through them.
Do you have any tips for construction?
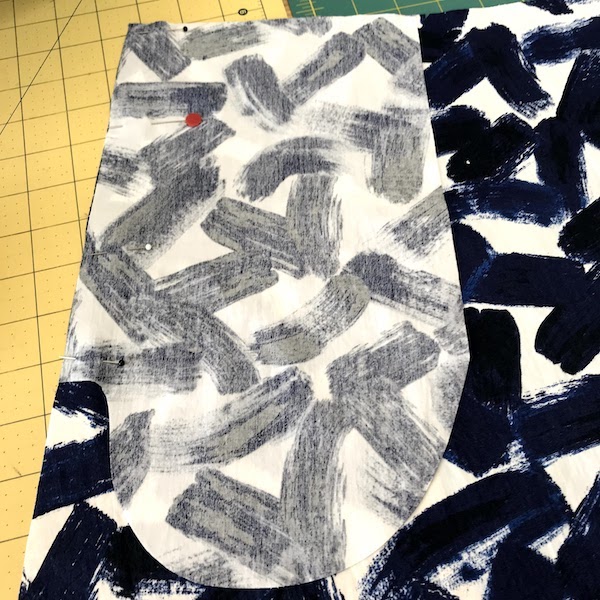
When finishing the neck facing, I first sewed the facing and the interfacing right sides together using a ¼” seam allowance, clipped the curves and then turned and pressed the interfacing to the wrong side. This gave the facing a nice clean edge. You can see a step by step photo demo of this technique here on our IG!
I also did a blind-hem. I’ve never been that successful at getting the blind-hem stich to work correctly. I practiced several times and think it went ok. The colors in the fabric hide the stitches well.
What did you like about the pattern/fabric?
I have had the pattern since it came out, as I love all the various options. The Assembly Line has extended their size range and the pattern goes up to a size 3XL.
When the blue brushstroke arrived at Stitch and I saw it in person, I knew I had to have it. It washes up great with little wrinkling. Sewing with it was great.
What did you dislike about the pattern/fabric?
Although the pattern does have extended sizes, they are still only drafted for a B cup.
Would you make it again?
I will probably make it again so that I can try out the other sleeve options
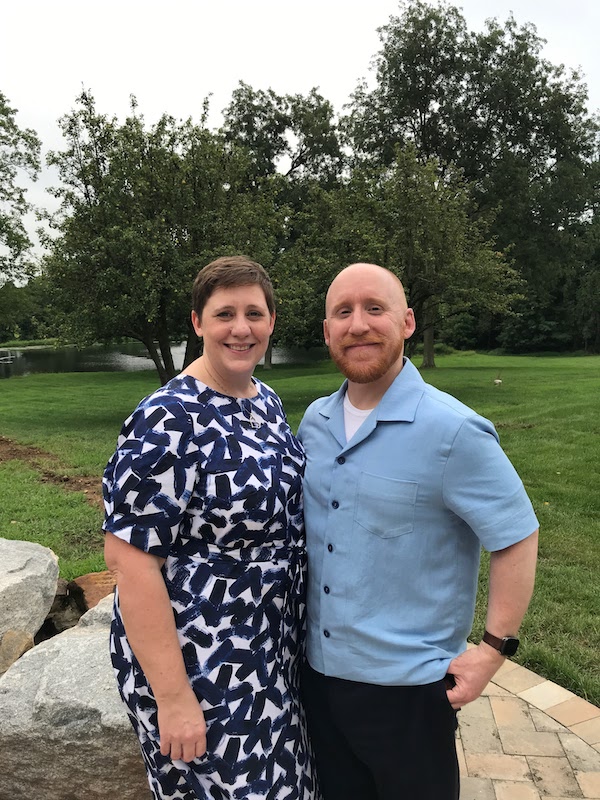
Stitch Samples is a blog series that gives you a closer look at the samples made by members of our shop gang.


