We all know, there is certainly no shortage of mask-making resources available online. However, after trying many (many!) different patterns and styles, I ended up creating my own hybrid pattern. After all, isn’t that part of the reason we all make our own clothes – so we can get exactly what we want!
The Stitch mask pattern features a curved nose dart, for fit, as well as to allow a little breathing room under the nose. Also, a chin dart, which helps it form to your face for a nice, secure fit. The pleats allow for movement of the jaw (important when you’re speaking!) without the mask slipping from your nose.
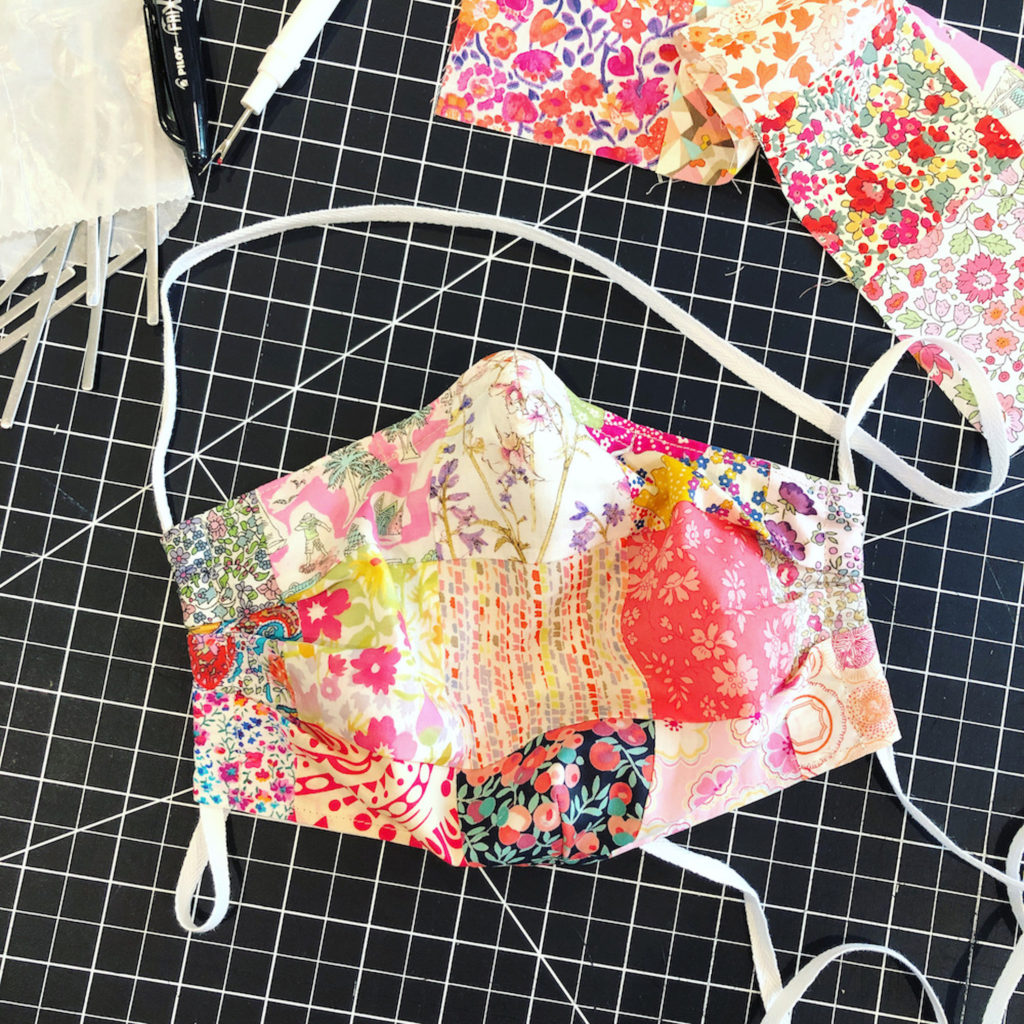 The sides are a channel, in which you may insert elastic (around the head, or over the ears) or ties. The fit is very adaptable – I add a little more length and one more pleat when making masks for my husband because he has a beard, and needs the extra room. For my kids, I shorten it a bit, and it works just fine.
I like the addition of the nose insert, but it is completely optional.
You can find the mask template in our web shop; it is a free download.
And now, without further ado, let’s make a mask!
Supplies:
Main fabric: 1/4 yard (or piece approx. 9” high x 14” wide)
Lining fabric: 1/4 yard (or piece approx. 9” high x 12” wide)
Coordinating thread
Elastic, bias tape, or twill tape for ties
- 1. Print & cut out the template (be sure it’s to scale, using the 1″ square in the top left corner). I suggest printing on to cardstock, or something similar, if you have it available to you. Prewash fabric.
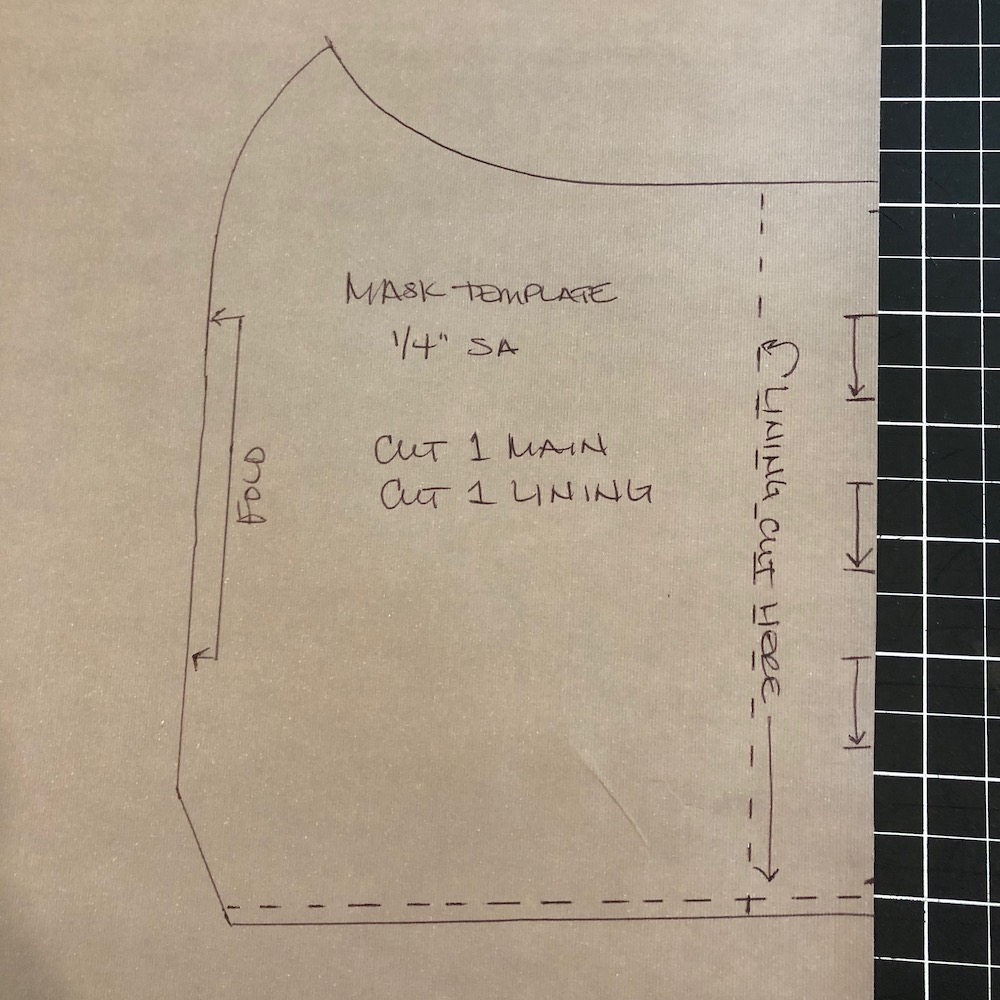 2. Cut out the fabric. Lay the template on the fold of your fabric, and carefully cut out one from the main/outer fabric of your mask. You will also cut one from your lining fabric, but trim so that it matches the dotted lines on the bottom of the mask template, and the edges.
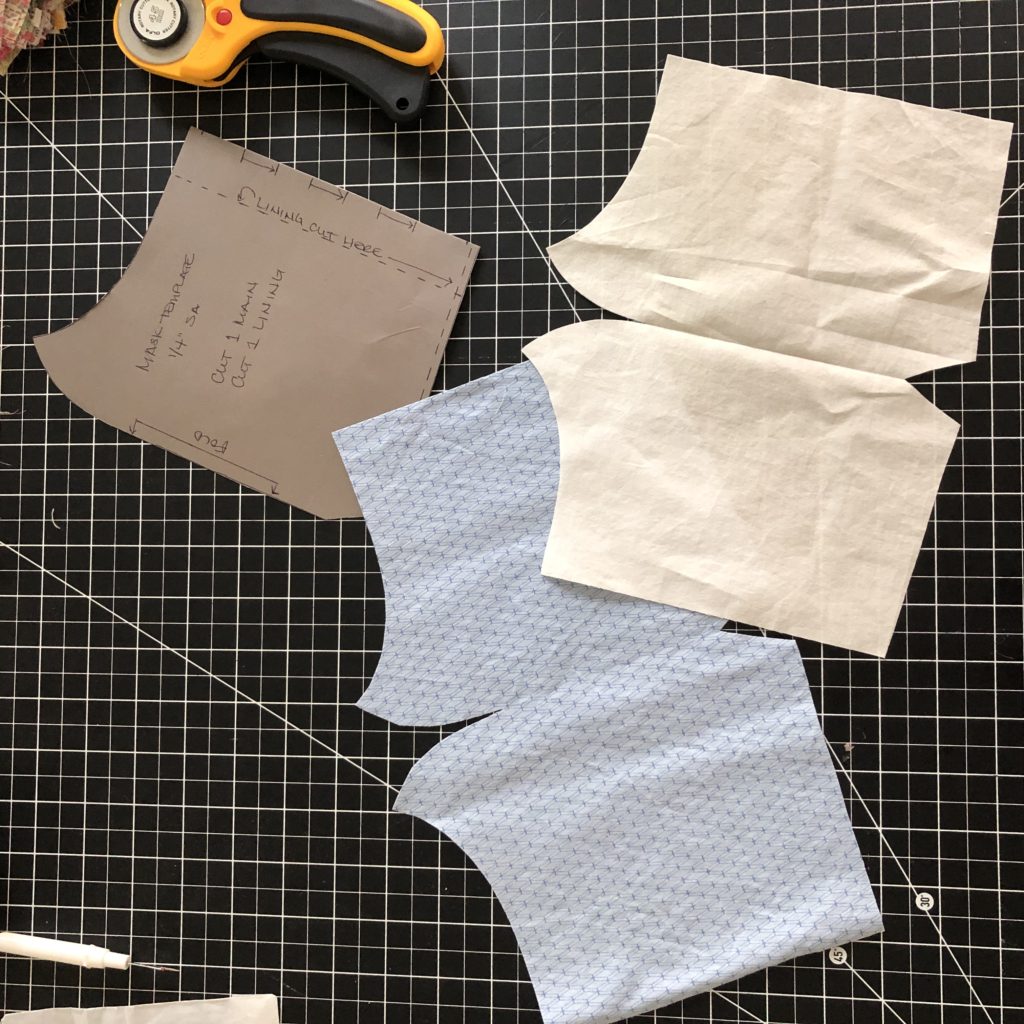
3. Sew the darts. Fold the main fabric right sides together, and sew the chin and nose darts, using 1/4″ seam allowance. Note that the nose dart is curved; you will run off the edge of the fold (just like sewing a bust dart). You can backstitch if you’d like, but it’s not necessary. Repeat for the lining. Press darts to one side, nesting the seam allowances for less bulk (see picture below).
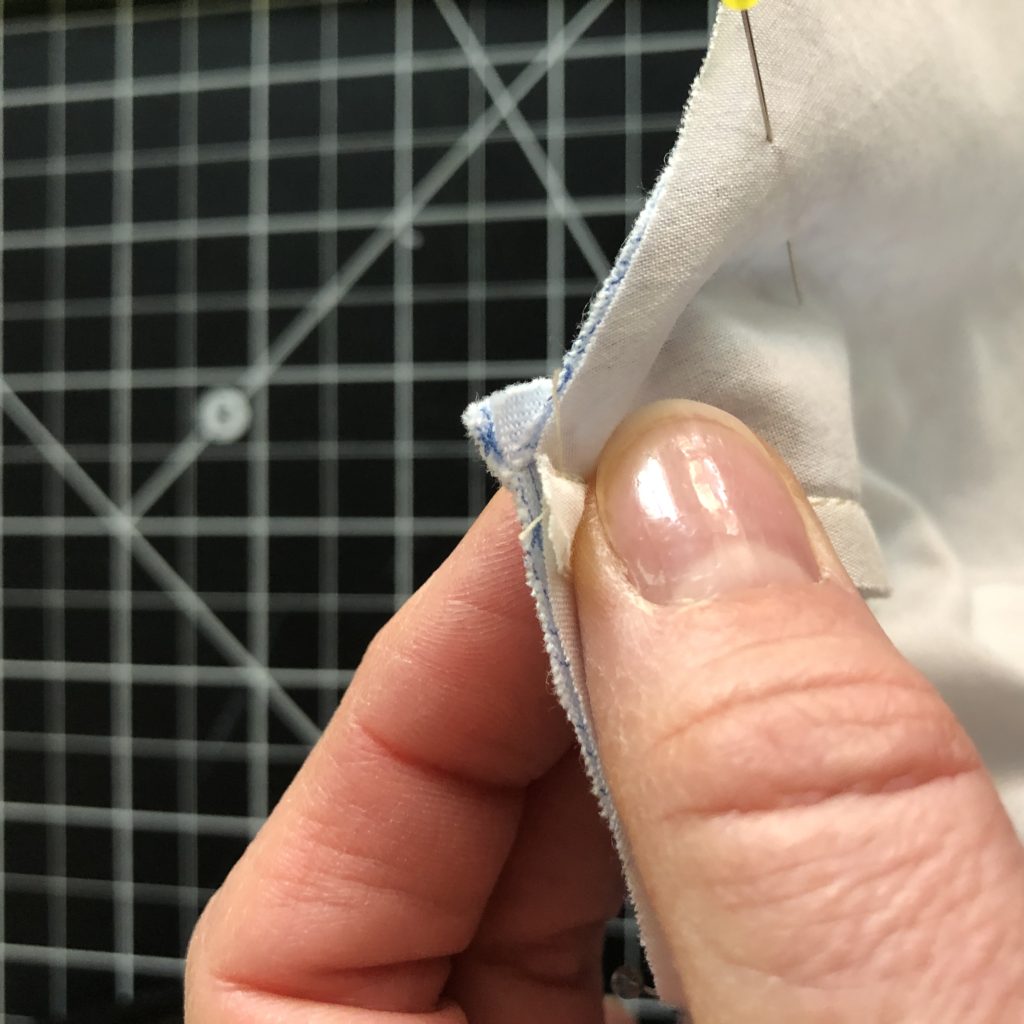
4. Sew main and lining together. Pin the main mask and the lining along the top and bottom, right sides together. Align the darts, nesting the seam allowance (from the previous step). Remember you trimmed the lining a little shorter than the main fabric, so they will not lie flat together at this point – and that’s ok! Stitch at 1/4″ seam allowance.
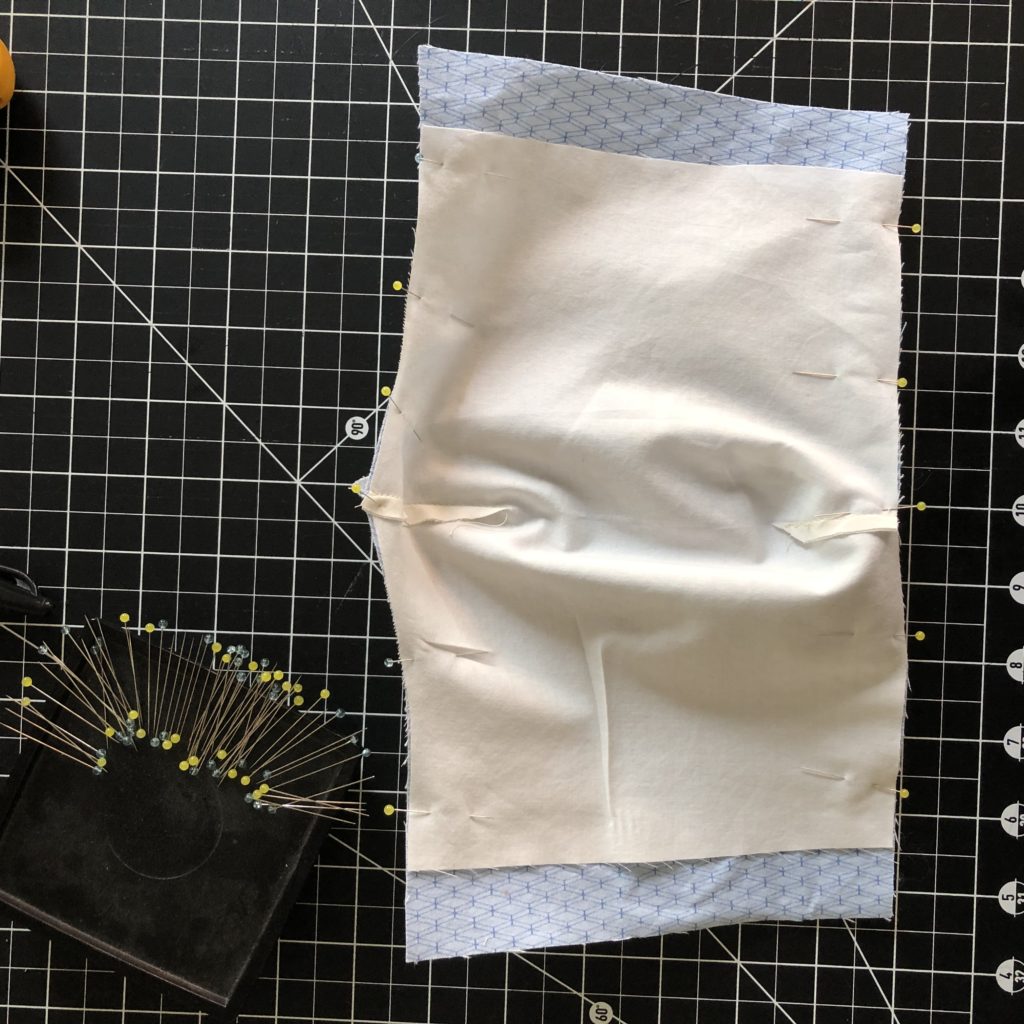
5. Turn and press mask. Turn the mask right side out, and press carefully. This is where trimming the lining a little shorter comes in to play – when pressing, the main fabric will roll slightly to the wrong side, making a neat, clean finished edge.
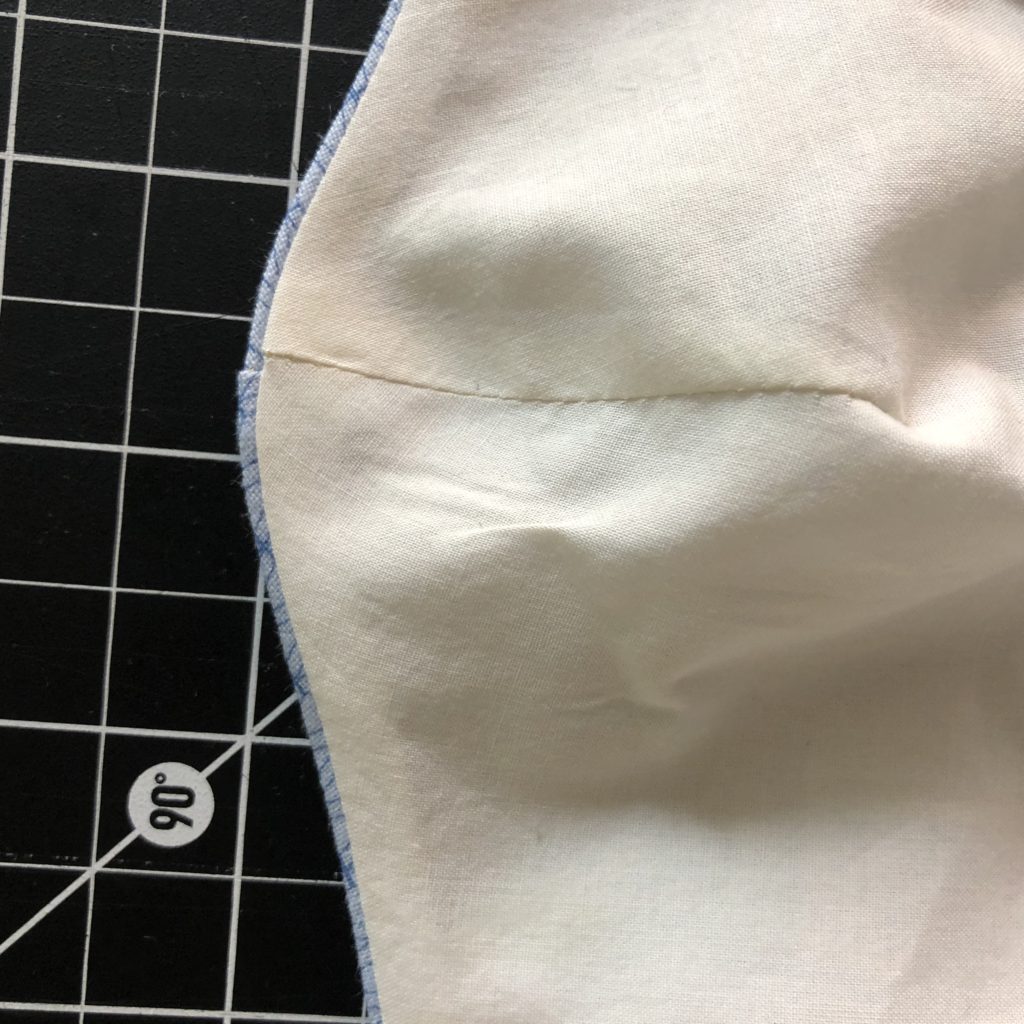
6. Topstitch top and bottom of mask. Catching the main mask seam allowances, sew a line of stitching close to the top and bottom edges (about 1/8″ away, but don’t stress over it too much).
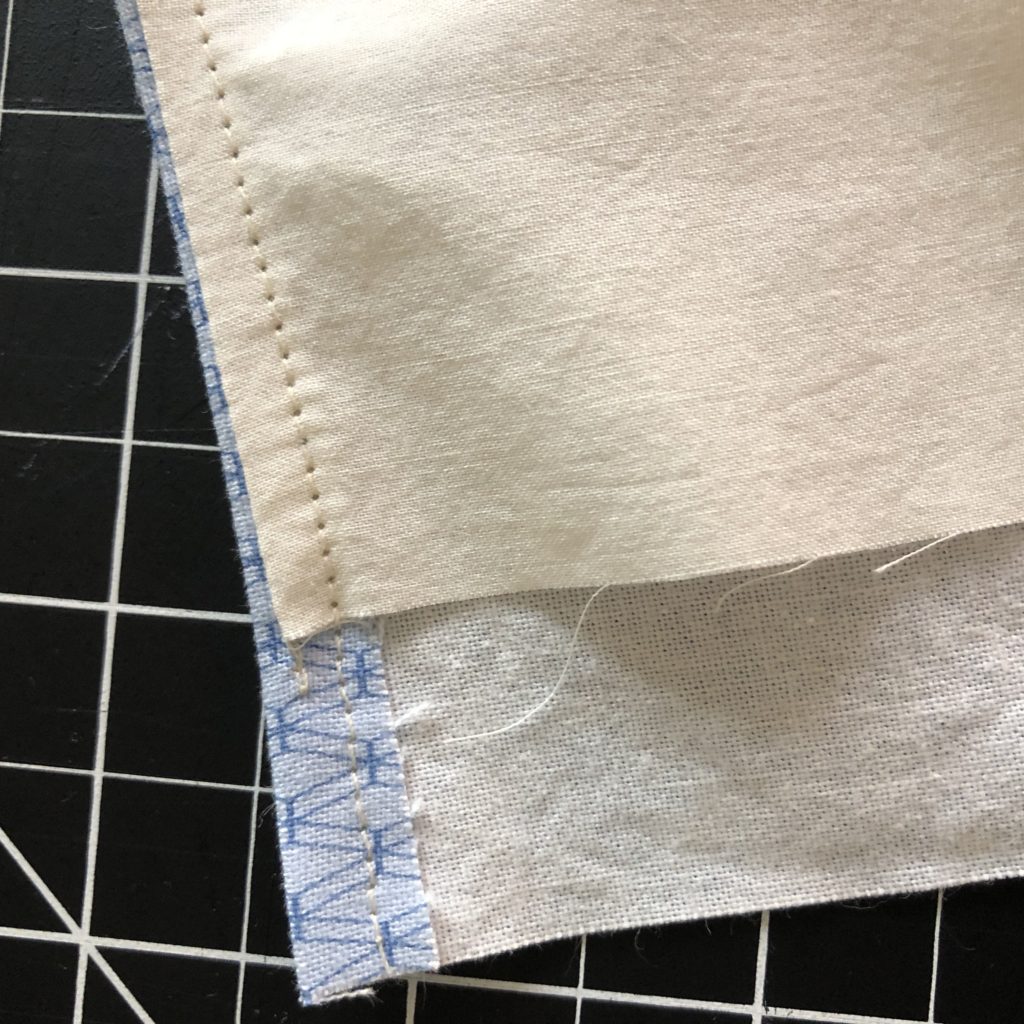
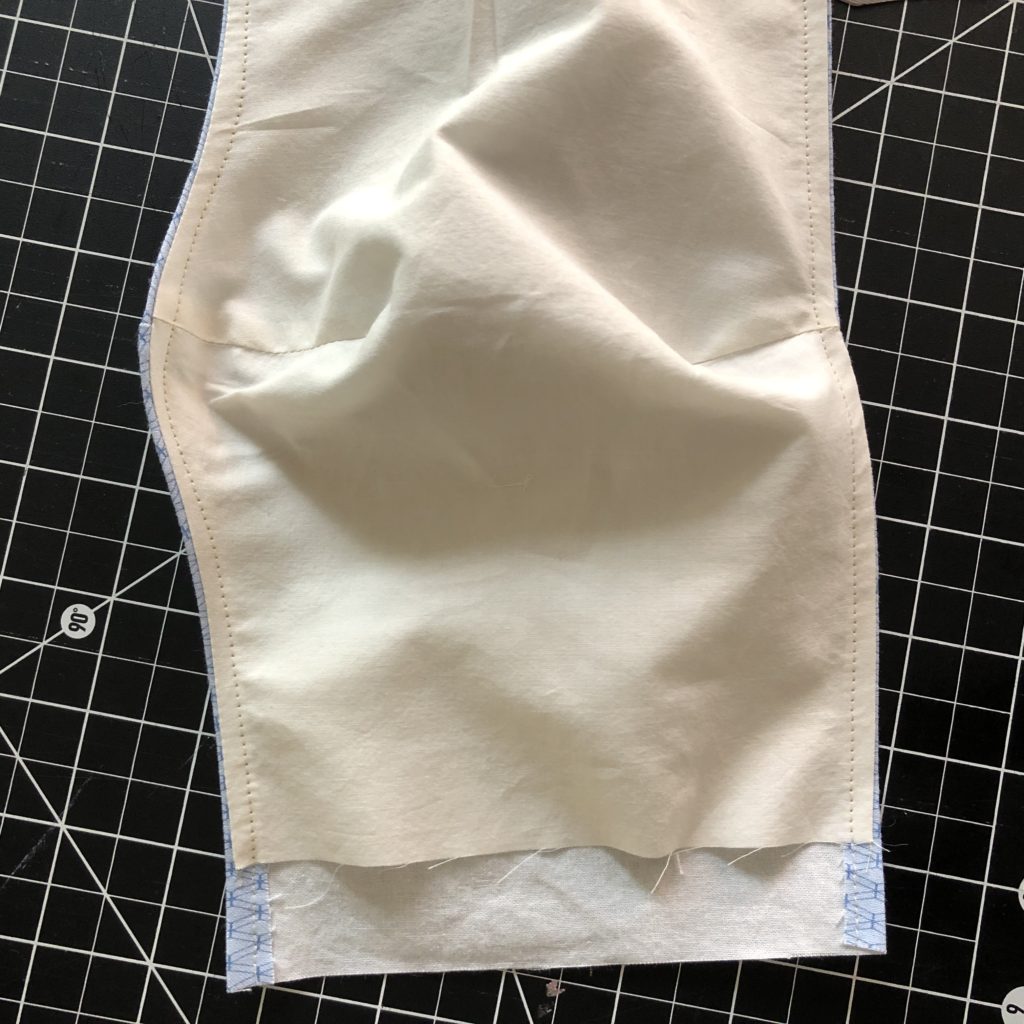
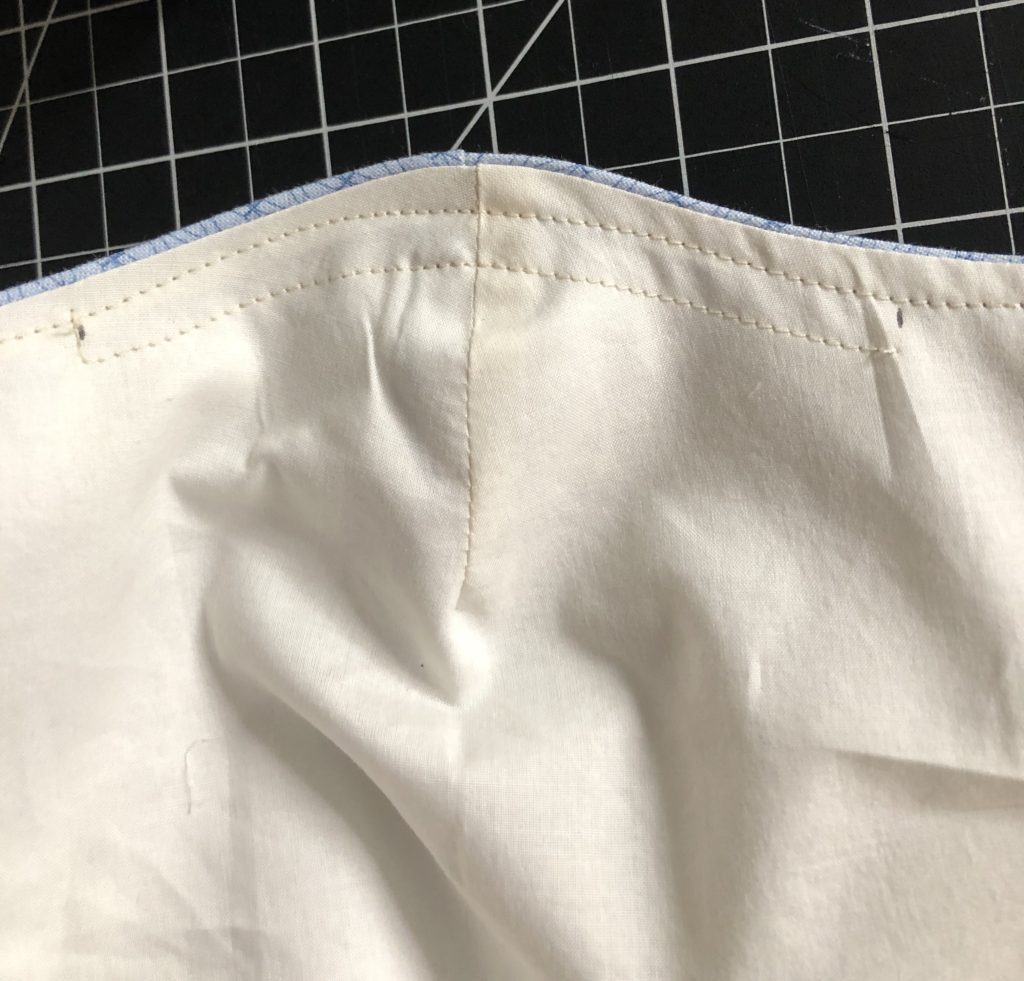
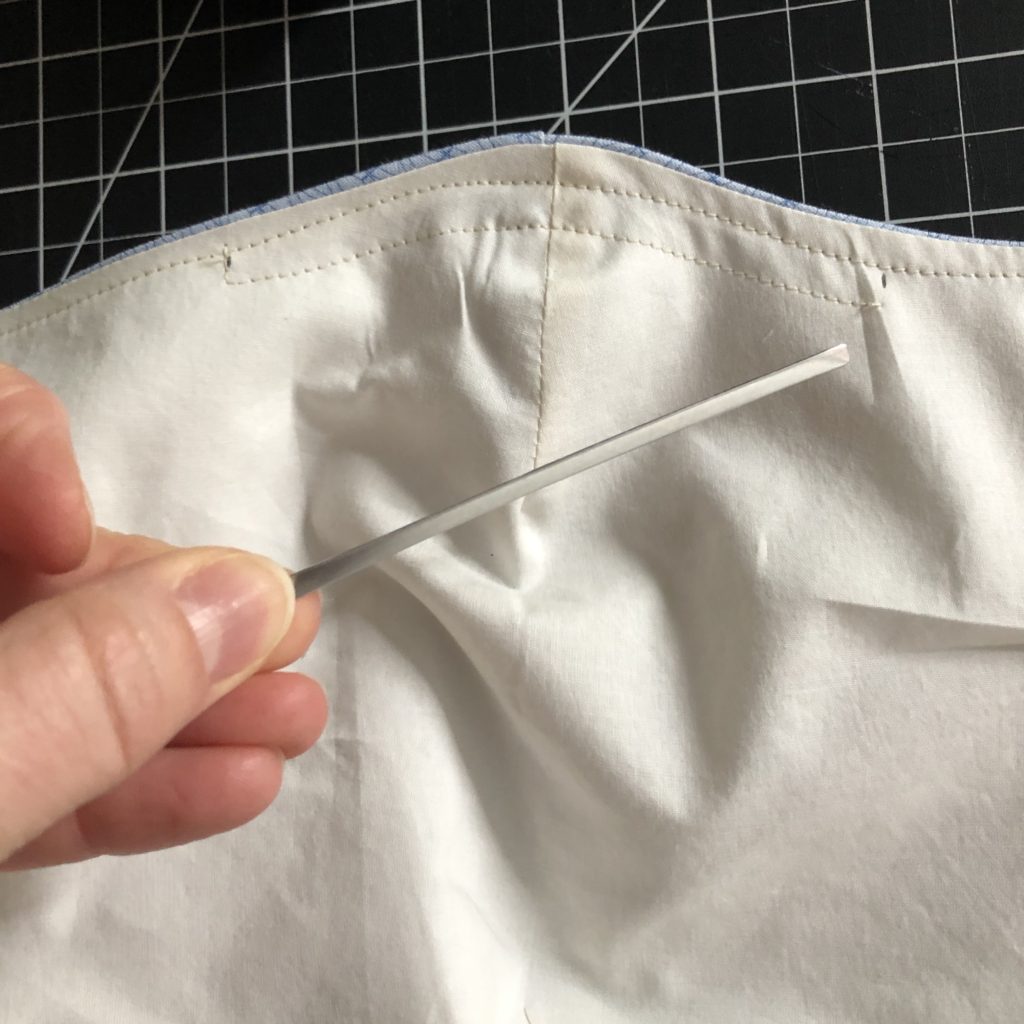
7. Channel for Nose Insert (optional). Mark a rectangle, approximately 4″ long, 1/4″ below topstitching at the top of the mask. Stitch one short side and the long side, leaving the other short side open for inserting the aluminum nose strip. Feed the nose strip in to the channel you’ve just stitched, and carefully stitch the short end closed.
8. Mark and fold pleats. Using the lines marked on the template, mark the pleats on your mask. Fold the pleats in the direction of the arrows, so that the marks you made touch, and pin. Be sure the pleats are facing the same direction on both ends of the mask!
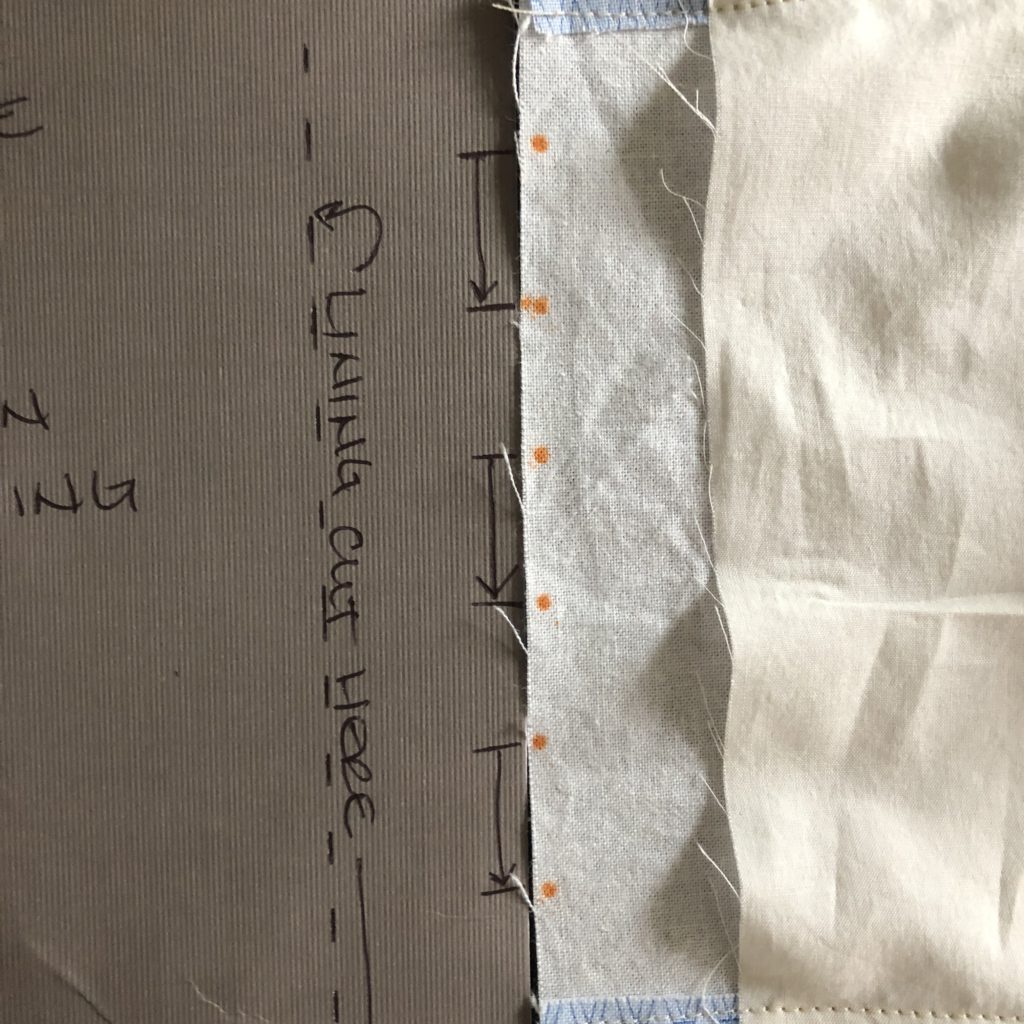
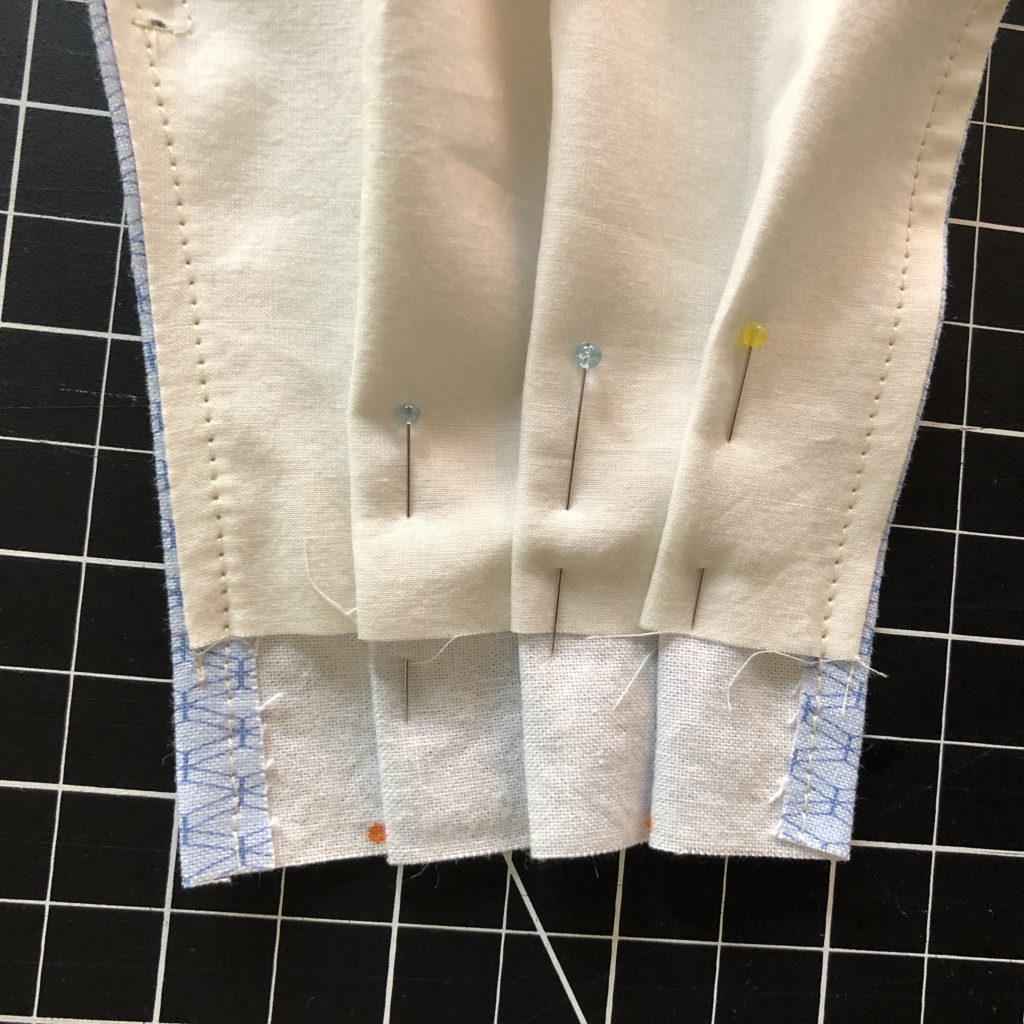
9. Stitch down pleats. Run a line of stitching, through all layers, near the edge of the lining. This secures the pleats. Press.
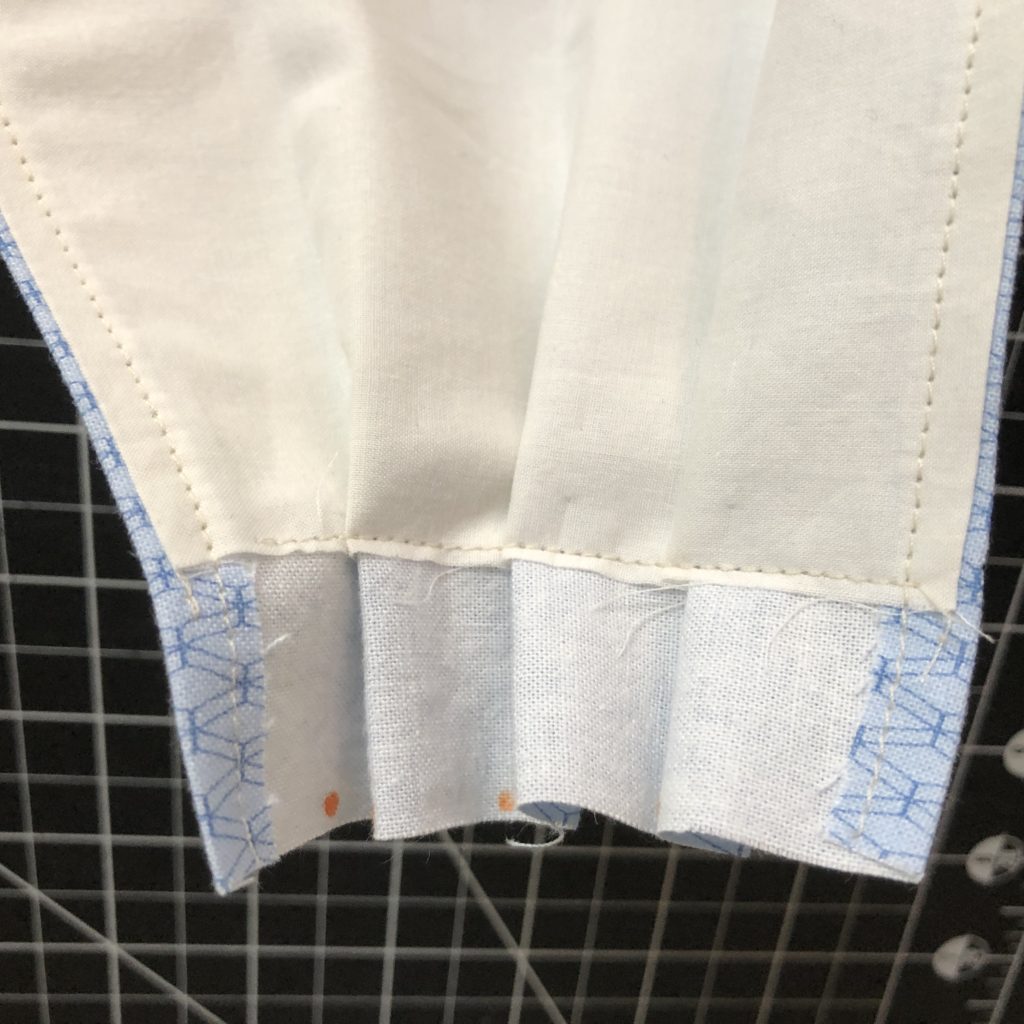
10. Fold and stitch side channel. Fold the ends of the mask just past the line of stitching you just made to secure the pleats, and press. Fold a second time, bringing the raw edges under to touch the first fold. Pin in place, and stitch very near the fold, catching the fold as you stitch. Backstitch at beginning and end of stitching. Repeat for second side of the mask.
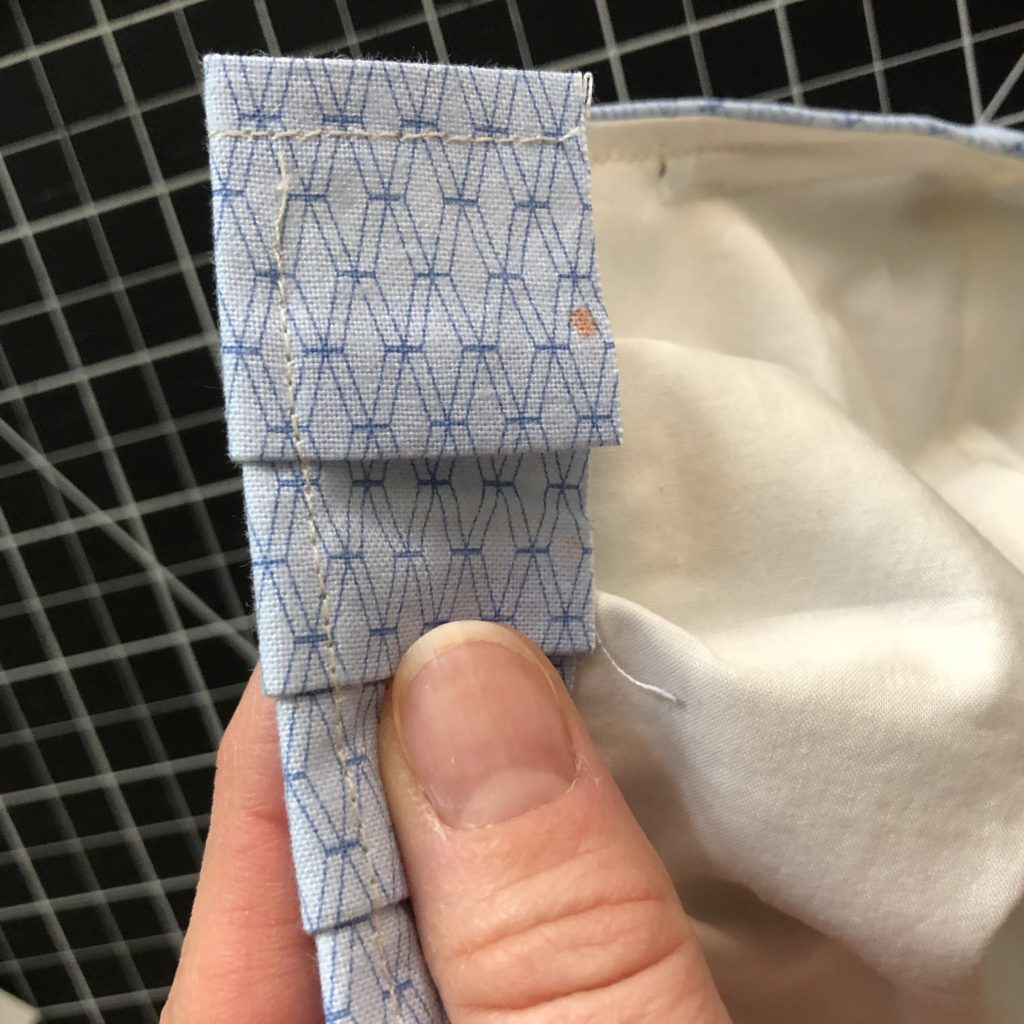
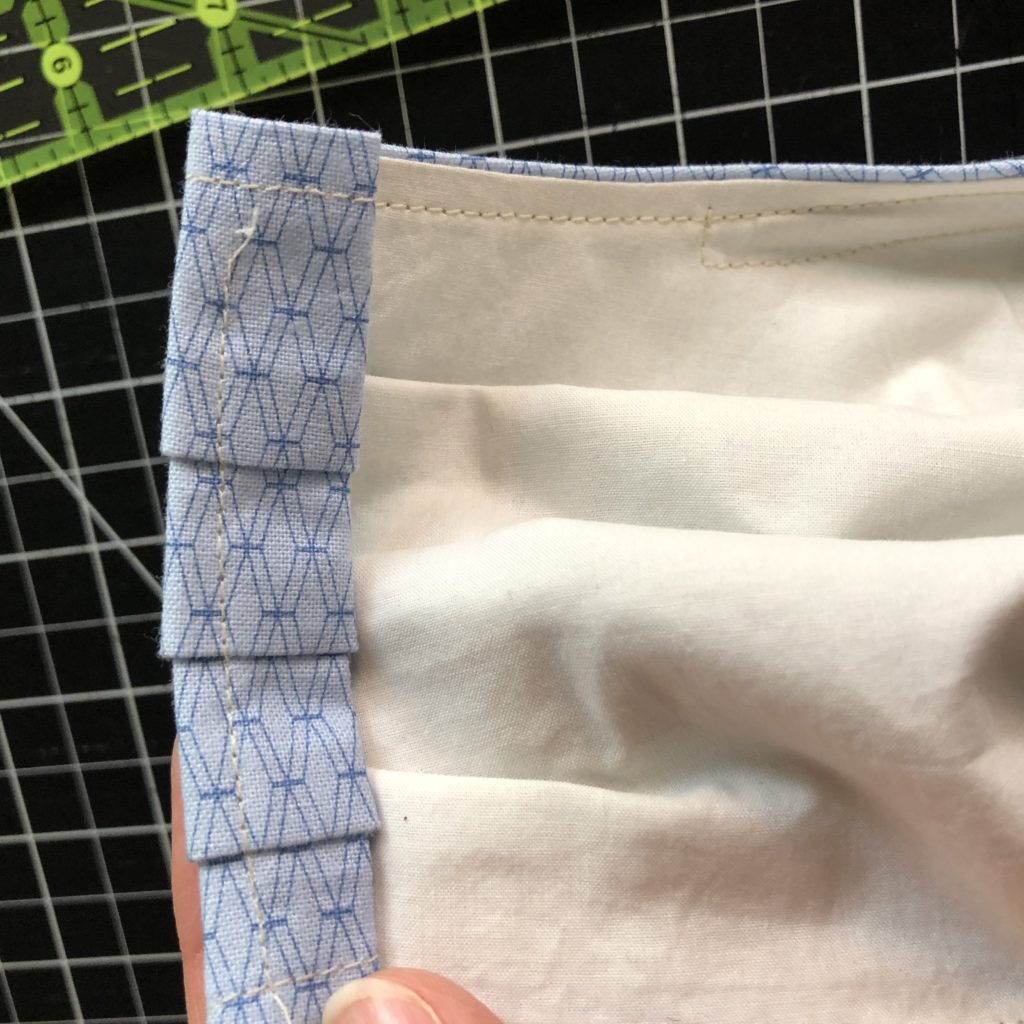
11. Feed elastic or bias/twill tape through side channels. This is a good time to try your mask on, and adjust the elastic to fit. Ties are a more flexible fit option, if you are making the mask for someone else, and are not able to try it on them.
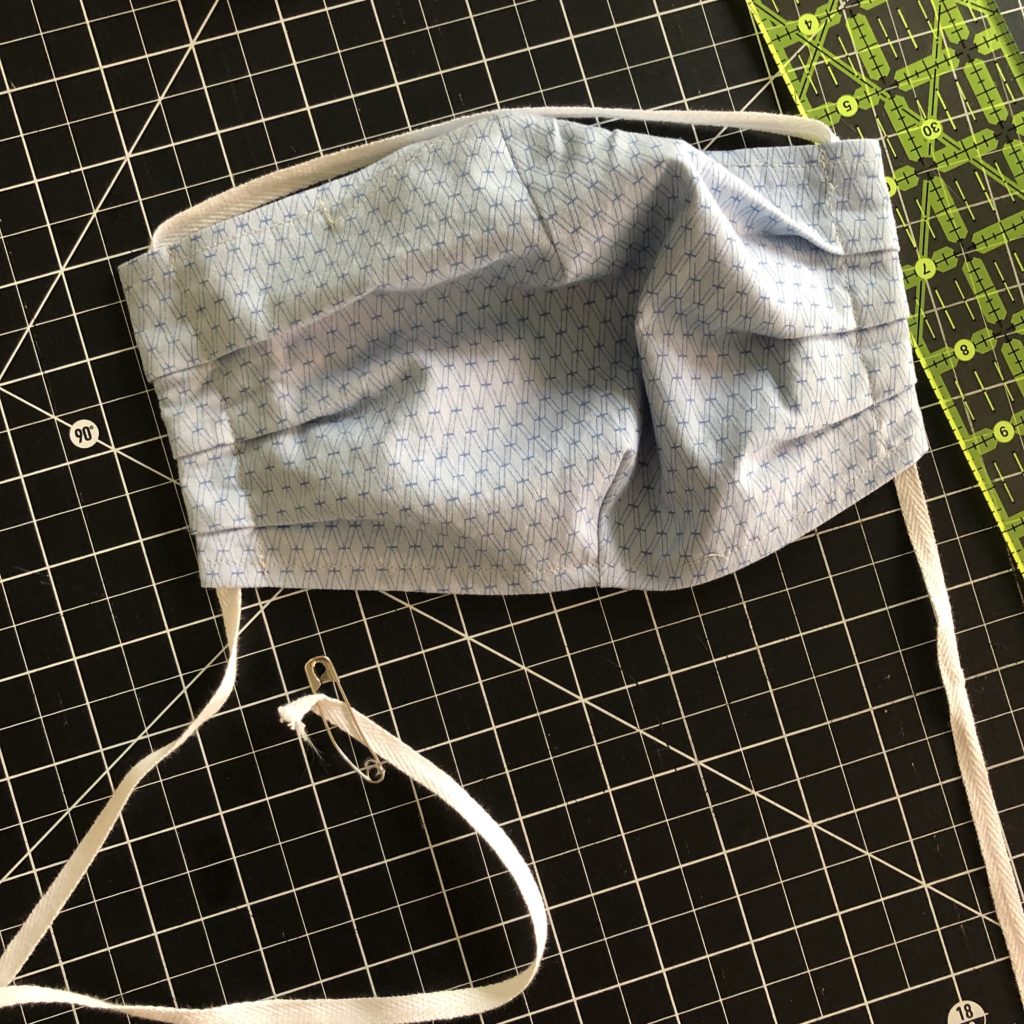
For a printable version of instructions without photos, click here.
If you have any questions, please don’t hesitate to email me to ask (hello@stitchsewshop.com).
Happy Stitching!
Kalle


