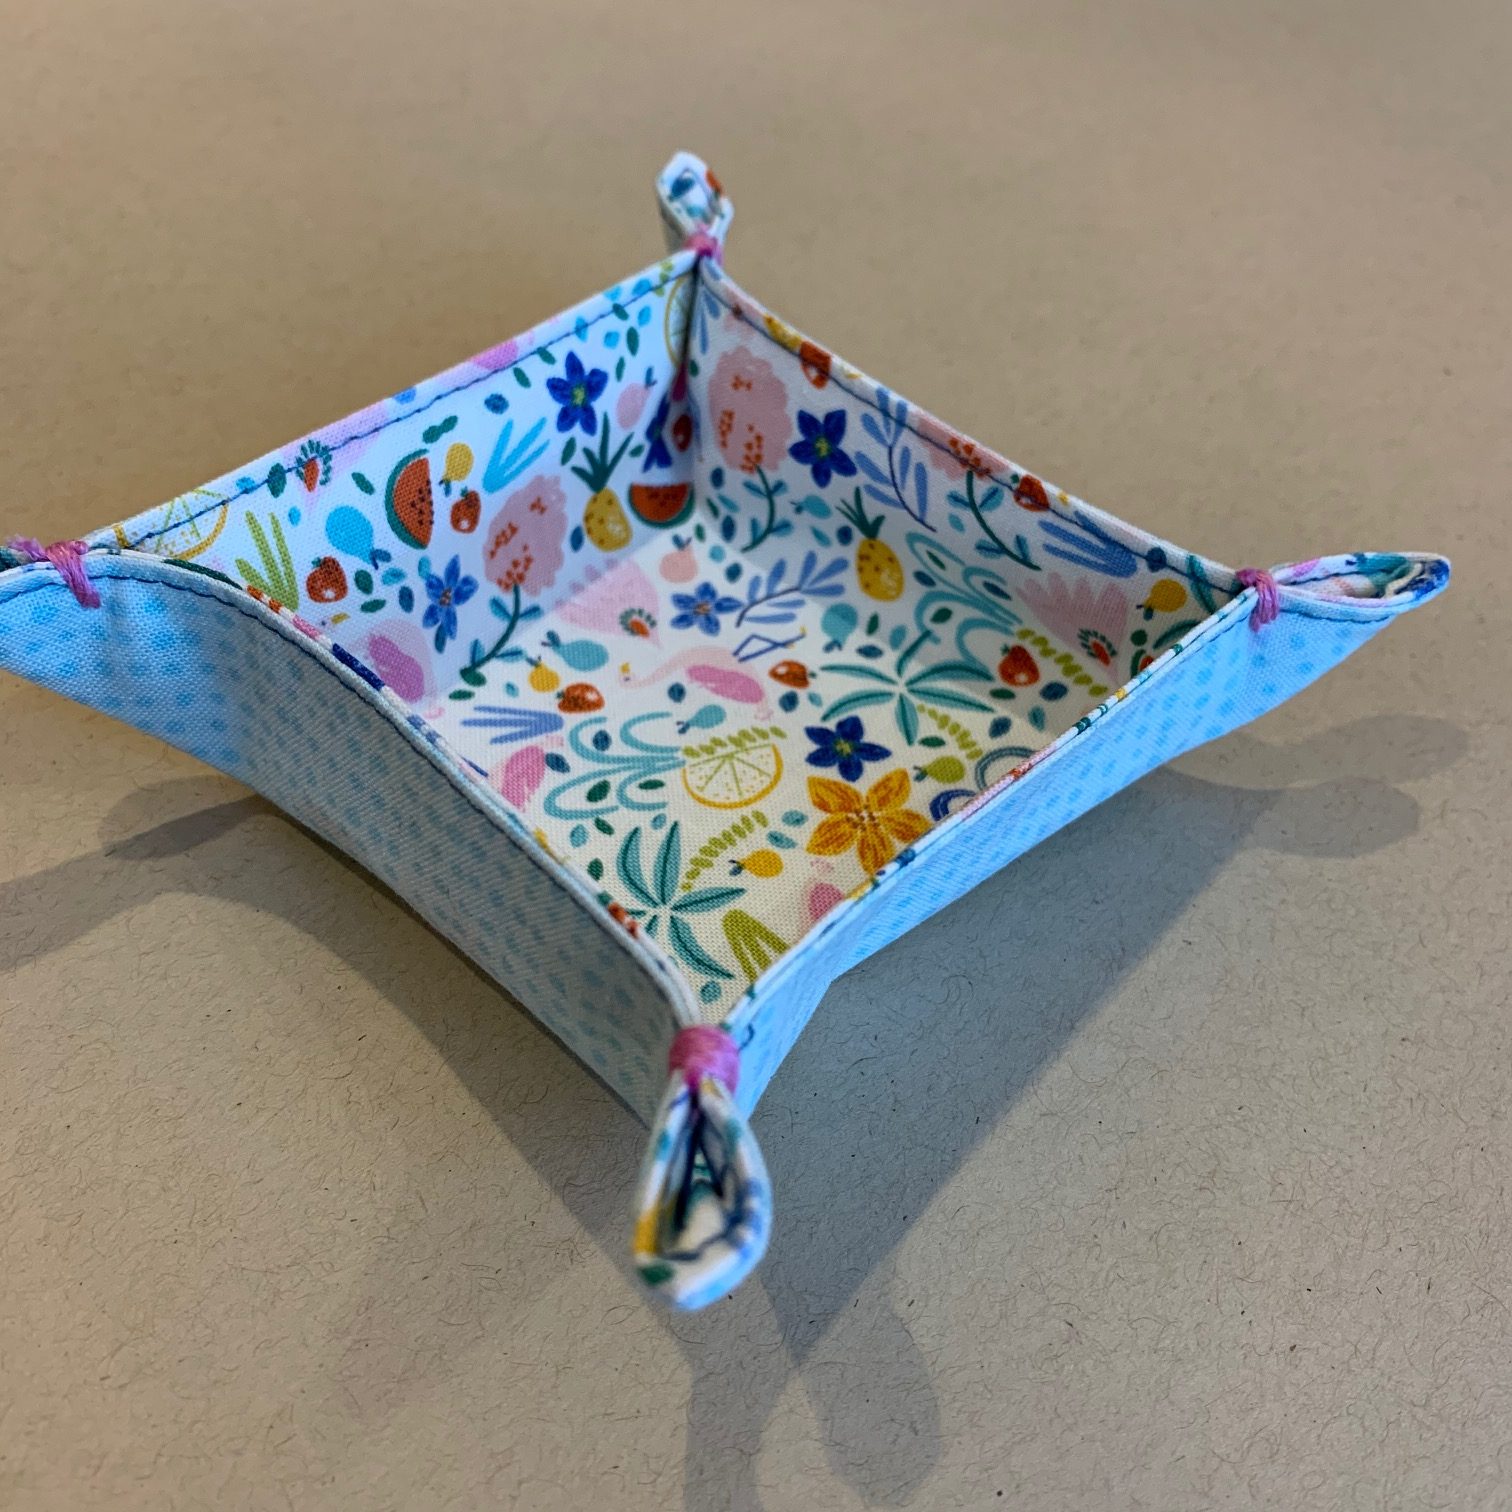
This adorable and functional fabric tray is this year’s Makers Mile craft at Stitch! For the event, we assembled the fabric squares ahead of time, and the participants learned how to whip stitch the corners by hand. This tutorial will show you how to make one (or a dozen) of your own from start to finish!
SUPPLIES

- Fabric*
- Thread
- Machine needles
- Embroidery floss
- Hand embroidery needle
- Point turner (optional)
*You will need an exterior fabric and an interior fabric, and a quarter yard of each will be plenty for a tray this size. We used quilting cottons, but any medium to heavy-weight woven fabric will work. You could even turn this into a scrap-busting tray by using some of your leftover fabrics from other projects!
STEP 1 : CUT FABRIC

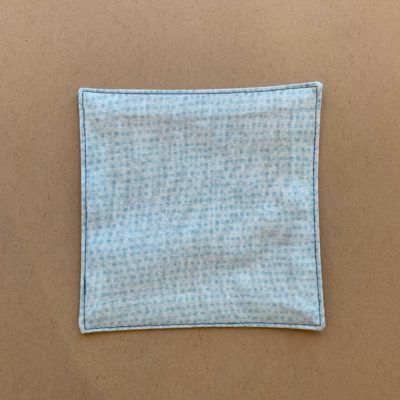
Exterior fabric: cut one 6” square
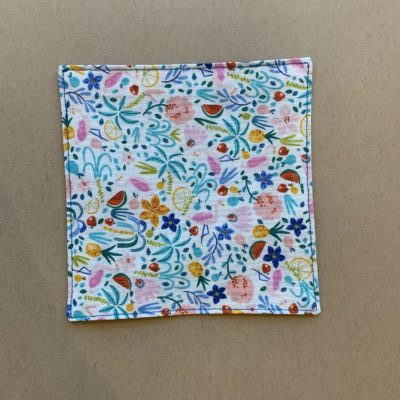
Interior fabric: cut one 6” square
In this tutorial, the blue dot fabric is my exterior fabric (outside of tray), and the fruity print is my interior fabric (inside of tray).
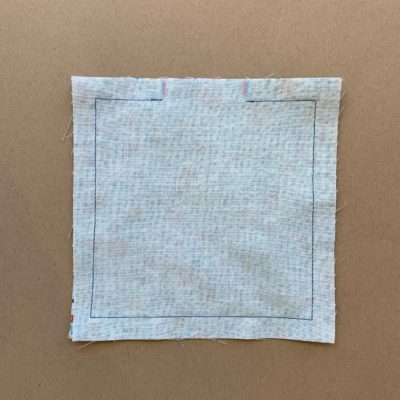
STEP 2 : PIN TRAY AND MARK OPENING

Place the two squares right sides together, and pin together on all sides
In the center of one side, make two marks 2 inches apart. This will be the no-sew-zone: an opening so that we can turn the tray right side out after stitching.
STEP 4 : SEW TRAY
Using a ½ “ seam allowance, start at one of the marks you drew and stitch all the way around the tray until you reach the other mark. Backstitch at the beginning and end of your stitching.
STEP 5 : TRIM CORNERS AND TURN RIGHT SIDE OUT
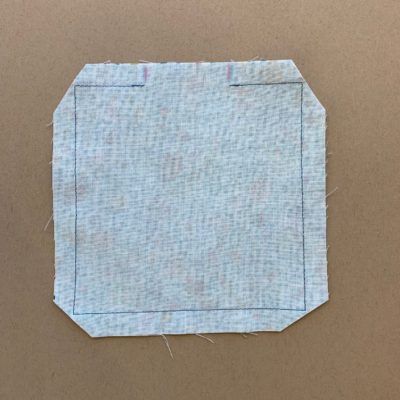

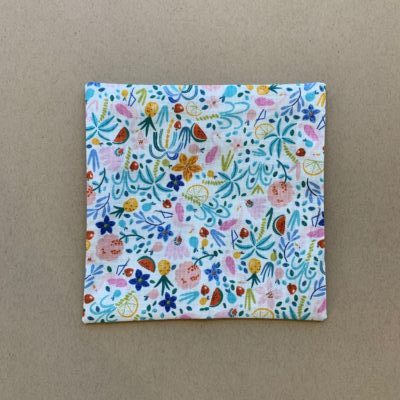
Trim the seam allowance in the corners of the tray, being careful not to cut through your stitches. Turn the tray right side out through the opening and push out the corners. You can use a point turner to help make them sharp. Press your tray flat, making sure that the seam allowance at the opening is tucked inside.
STEP 6 : TOPSTITCH
Topstitch around the entire perimeter of the tray, ⅛ “ from the edge. When you get to the end, overlap with your first stitches and backstitch to secure.
STEP 7 : WHIP STITCH CORNERS

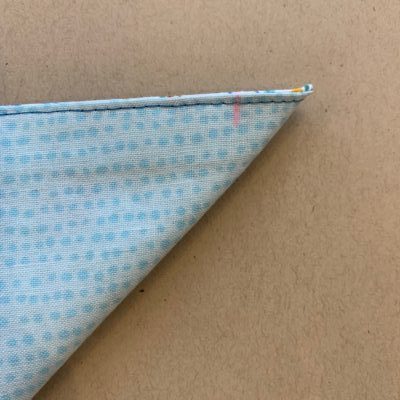
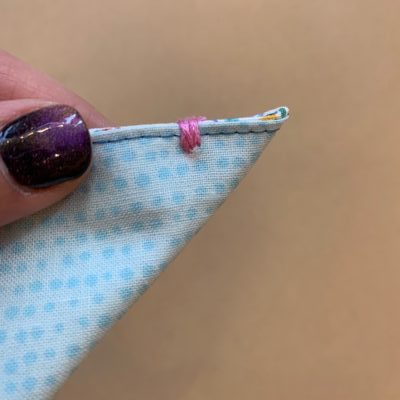

Fold tray in half, bringing opposite corners together. Exterior fabric should be facing out. Make a mark ¾ “ away from one of the corners closest to the fold (see picture). This mark is where we will handstitch to secure the corners.
Thread an embroidery needle with a length of embroidery floss (about 18” should be enough). Tie a knot at the end.
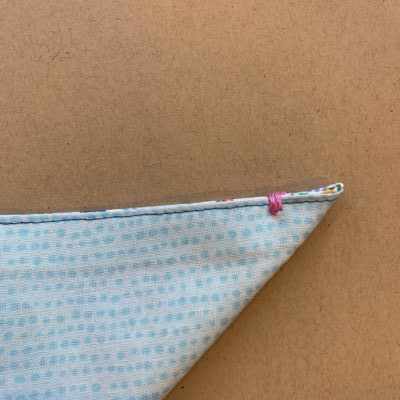
To secure the corners, whip stitch in place at the marking, with 3 or 4 overlapping stitches. (If you are not familiar with a whip stitch, there are some great tutorials online, including this one. Just keep in mind that for this project, the stitches will be very close to each other instead of evenly spaced, as most tutorials will show.)
When you are done stitching, tie another knot in your thread to secure the stitches. You can hide your thread tail by running your thread back through your whip stitches before trimming. Repeat for the other three corners.
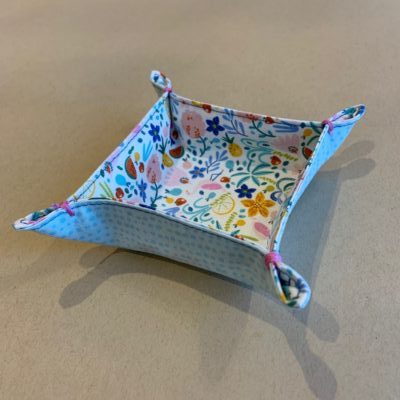
Ta-dah! You now have yourself a sweet little tray to hold anything your heart desires. At the shop, we’re already thinking of all the different ways you could hack this basic pattern.
For a sturdier tray, you could use a heavier weight fabric, like denim or canvas, or fuse interfacing to the wrong side of your fabric before stitching. And how chic would this tray look made out of leather?
It can also be made in any size! Make a large one to use as a project basket, or a tiny one to hold your jewelry. There are so many possibilities! And if you do make one, be sure to share it with us!
Happy Stitching!